
Hi All,
This article will cover the configuration of Systems Center Updates Publisher 2011 (SCUP). SCUP is a useful tool that lets you publish 3rd party updates to the Systems Center Configuration Manager (SCCM) Site System which holds Software Update Point role for easy deployment. This article assumes that SCUP 2011 has already been installed and is on installed on the Site System holding the Software Update Point role. It also assumes that you do not have a PKI infrastructure and will be using the certificate generated using SCUP. The lab I used to complete these steps was running on Windows Server 2012 with SCCM 2012 SP1 installed. The following steps cover configuring SCUP and the clients that will receive the 3rd party updates. Actual publishing and deployment of the 3rd party updates are outside the scope of this article.
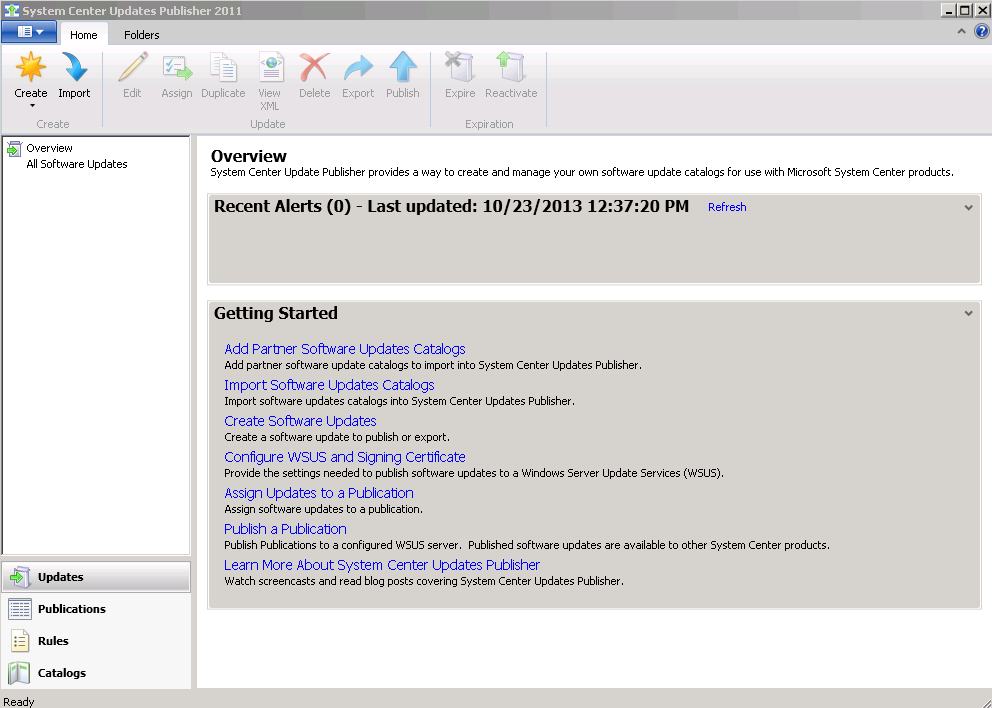
Log on to the server where SCUP is installed. Open the SCUP application making sure to run it as Administrator.
Click “Configure WSUS and Signing Certificate” under the “Getting Started” section.
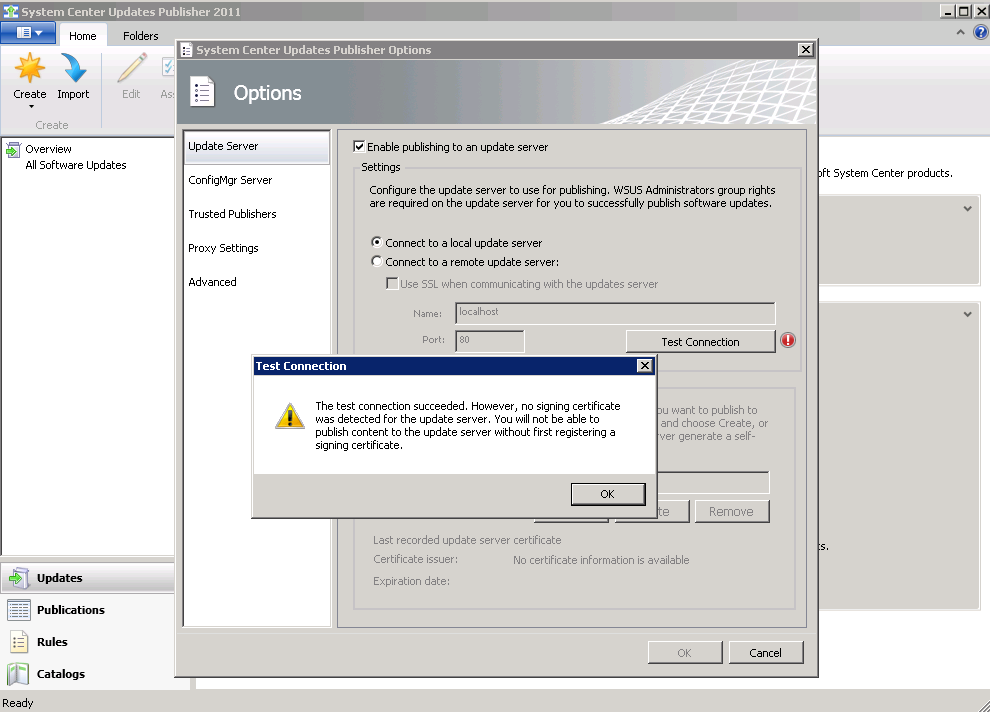
When the “System Center Updates Publisher Options” screen appears, check “Enable publishing to an update server” and click the “Test Connection” button. You will see test successful as shown below. Click “OK”. (In this example SCUP is installed on my SCCM Site Server with the “Software Update Server” role so I chose “Connect to a local update server”)
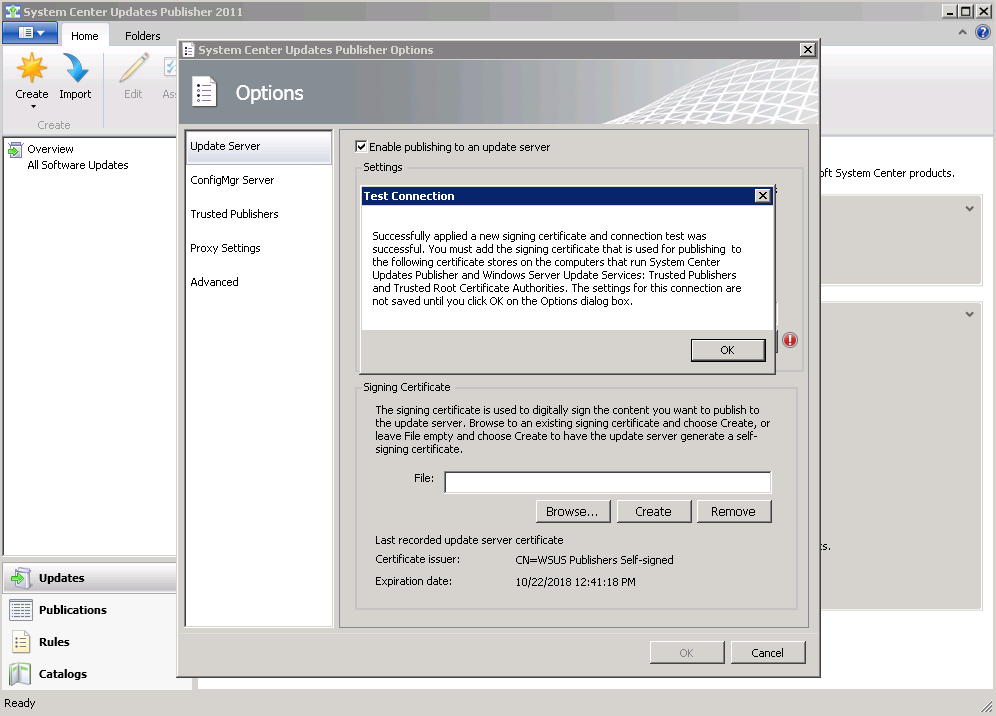
Under the “Signing Certificate” section, click the “Create” button. A new certificate will be created and added to the “WSUS” certificate store on the server. You will receive success confirmation and instruction for what needs to be completed on client workstations. You will also notice the certificate issuer section is now populated as well (The certificate will be valid for 5 years from the date of creation). Click “OK”.
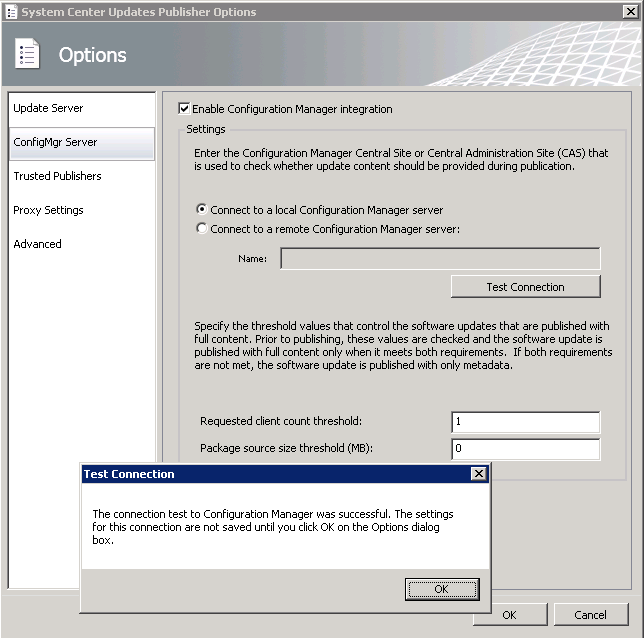
Click the “ConfigMgr Server” on the left pane. Check “Enable Configuration Manager Integration”. Click Test Connection. If successful, click “OK”.
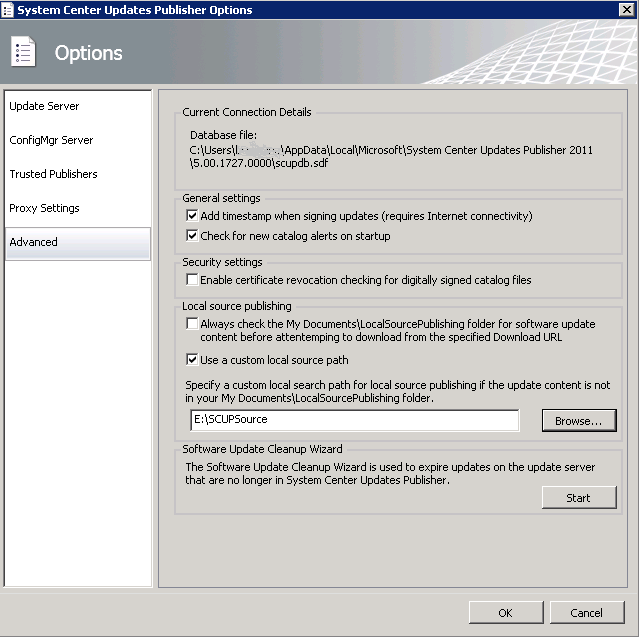
Now click “Advanced” on the right side pane as shown below. Check “Add timestamp when signing updates (Requires Internet Connectivity)” to ensure the software updates will still be able to be used even after its signing certificate expires. (Providing they were stamped while the signing cert was valid). Select “Check for new catalog alerts on startup”. Also, check “Use a custom local source path” and specify a path to search for source files. Click “OK”.
Now that we have finished the configuration options within SCUP, it’s time to Export the self-signed cert. To get into the certificate store on the machine where SCUP is installed complete the steps outline below:
Open the Start Menu and type “MMC” in the search box and press enter.
When the console opens click “File” and select “Add/Remove Snapin”.
Select “Certificates” from available snap ins and click the “Add” button to move to the “Selected Snapins” window and click “OK”.
When the “Certificate Snap-in” windows appears, select the “Computer Account” radio button and click “Next”.
On the “Select Computer” window, select the “Local Computer” radio button.
You will now see that it has been added to the selected snap-ins. Click “OK”.
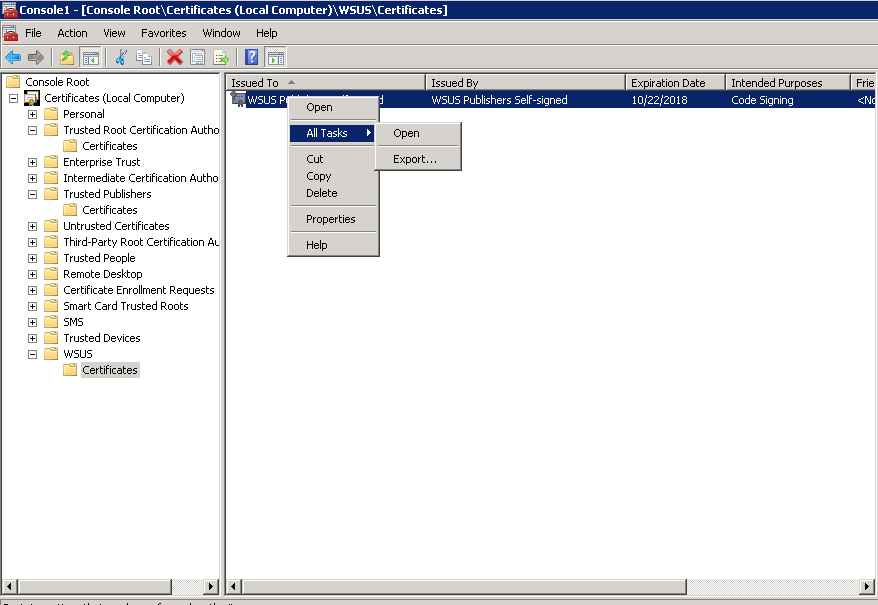
Now that you have the local certificate MMC open you can start to Export the cert. Expand “Certificates (Local Computer)” then expand “WSUS” and highlight “Certificates”. Right click the certificate to be exported (in this case WSUS Publishers Self Signed), select “All Tasks” then “Export” from the menu as shown below.
The “Certificate Export Wizard” will appear, click “Next” on the “Welcome to the Certificate Export Wizard” screen.
On the “Export Private Key” screen select “No, do not export private key” and click “Next”.

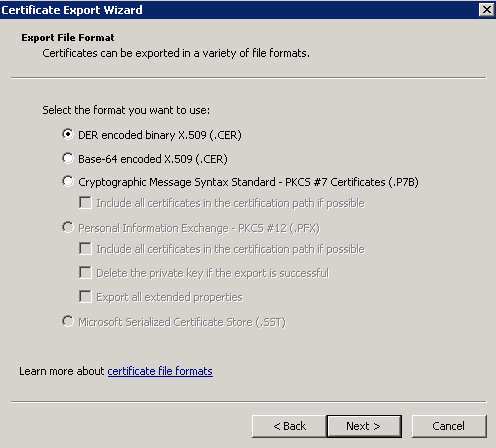
On the “Export File Format” screen choose “DER encoded binary X.509 (.CER)” and click “Next”.
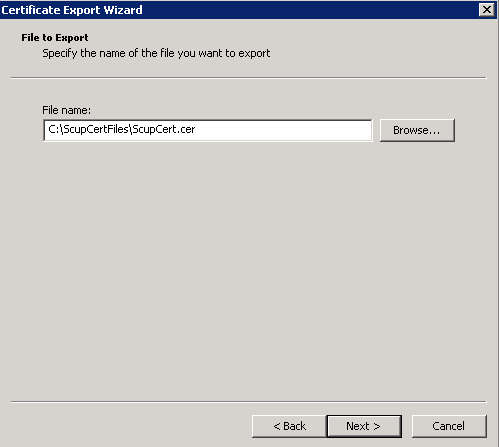
On the “File to Export” screen, Browse to the directory where you would like to export the certificate including the name of the file as shown below. Click “Next”.
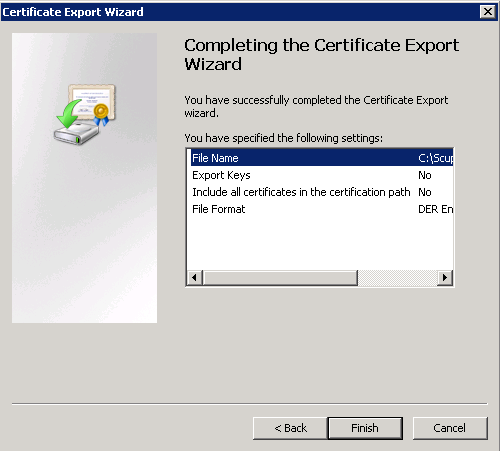
On the “Completing the Certificate Export Wizard” screen review your settings and click “Finish”.
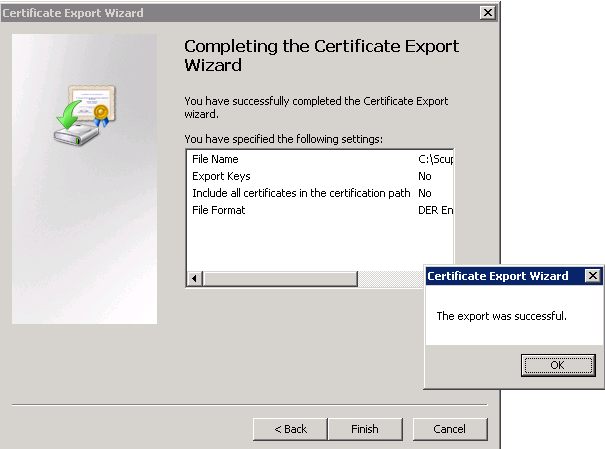
When you receive confirmation that the export was successful, Click “OK” and “Finish”.
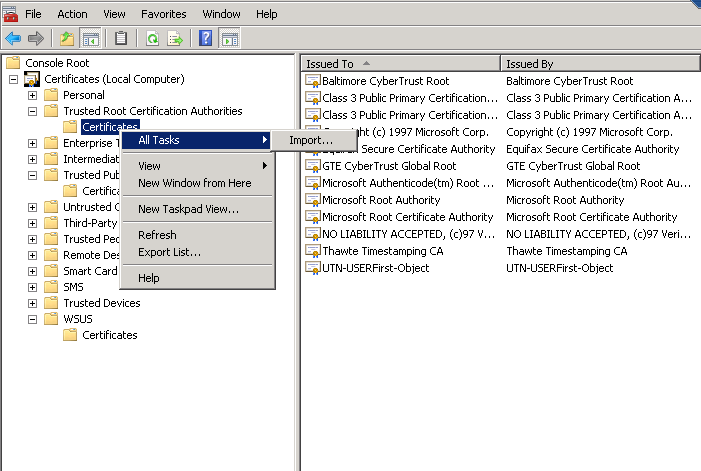
Now that the Export is complete, let’s Import the cert to the “Trusted Root Certificate Authorities” and “Trusted Publishers” stores on the SCUP machine. You should still have the “Certificates MMC” open. Expand “Certificates (Local Computer)” then expand “Trusted Root Certification Authorities” and highlight “Certificates”. Right click the “Certificates” container”, select “All Tasks” then “Import” from the menu as shown below.
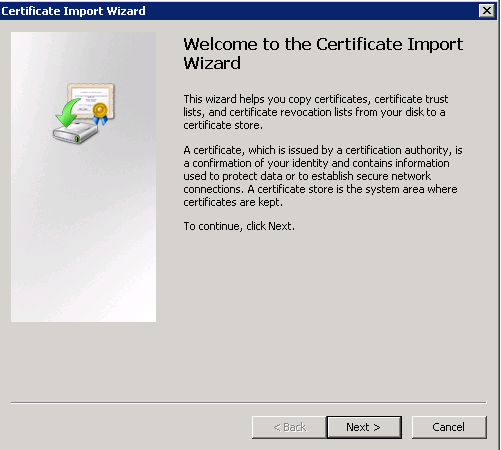
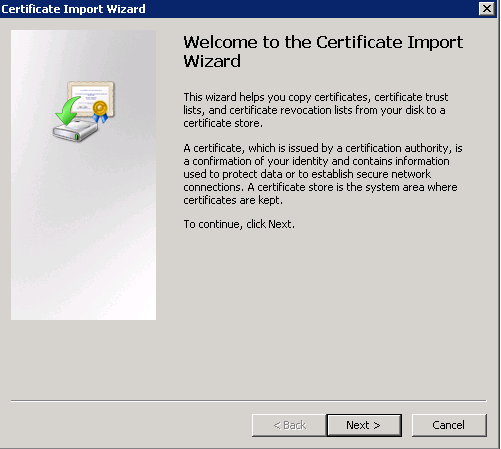
When the “Certificate Import Wizard” appears, click “Next” on the “Welcome to Certificate the Import Wizard” screen.
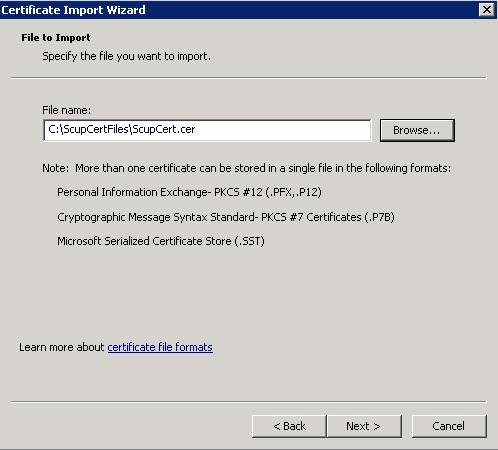
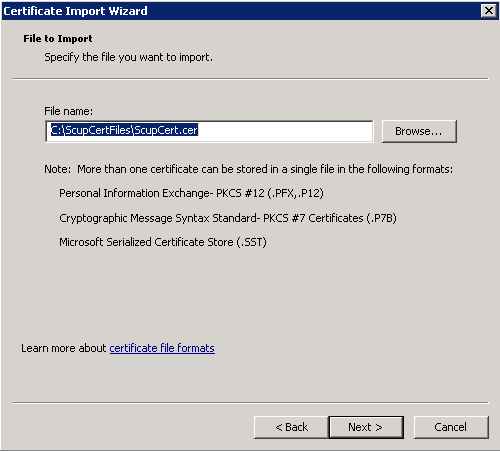
On the “File to Import” screen, browse to the directory where you previously saved the certificate file and click “Next”.
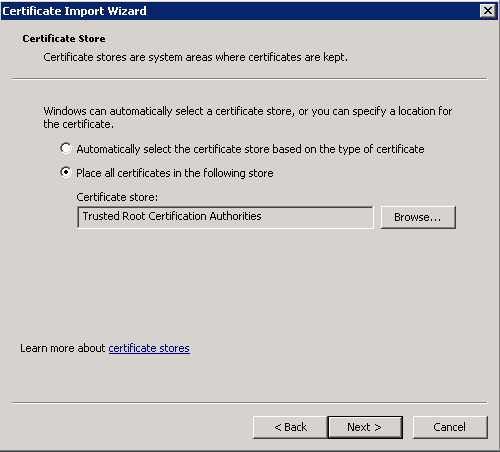
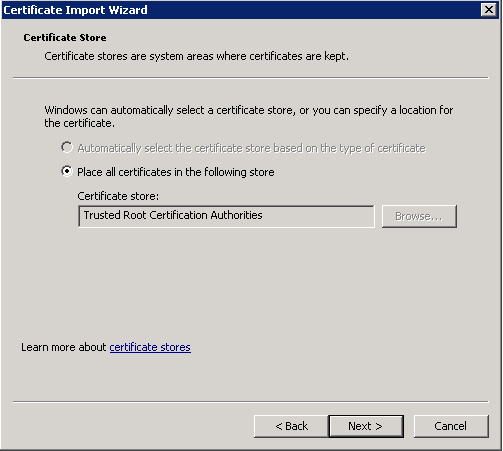
On the “Certificate Store” screen, the “Place all certificates in the following store” should be selected with “Trusted Root Certification Authorities” as the “Certificate Store”.
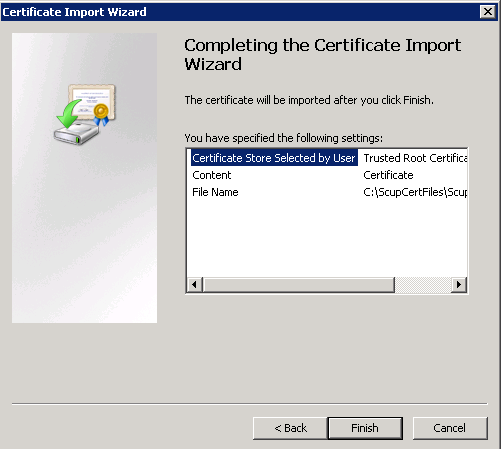
On the “Completing the Certificate Import Wizard” screen, click “Finish”. 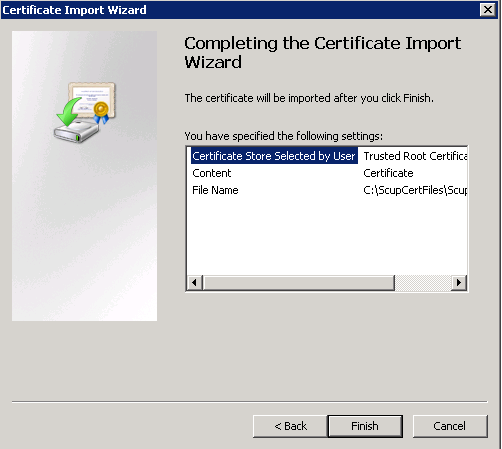
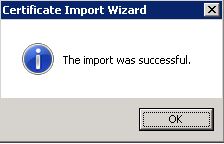
Click “OK’ on the confirmation that it was successful.
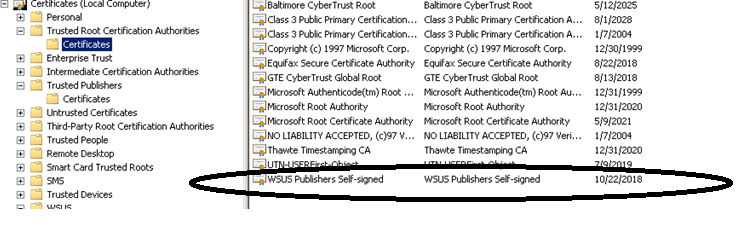
You will now see the certificate listed as shown below. Now repeat the same steps that we used to Import the certificate to the “Trusted Root Certification Authorities” above to import the cert to the “Trusted Publishers” certificate store as well (The only difference is you will right click “Certificates” under “Trusted Publishers” at the beginning of the steps).
Configuring Group Policy
Next you will need to configure Group Policy so that the client machines that will be receiving the updates trust the Signing Certificate. To do this, we will need to push the certificate we exported earlier to the “Trusted Root Certification Authorities” and the “Trusted Publishers” certificate stores on all client machines. If you don’t have one already, create a GPO and link it to the link it to the proper location in Active Directory so that it will apply the machines you would like to target.
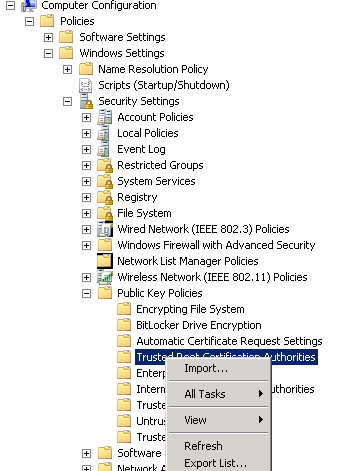
Edit the Group Policy and navigate to “Computer Configuration/Windows Settings/Public Key Policies/Trusted Root Certification Authorities”. Right click and select “Import” as shown below.
Click “Next” on the “Welcome to Certificate the Import Wizard” screen.
On the “File to Import” screen, browse to the directory where you saved the cert previously and click “Next”.
On the “Certificate Store” screen, the “Place all certificates in the following store” should be selected with “Trusted Root Certification Authorities” as the “Certificate Store”.
On the “Completing the Certificate Import Wizard” screen, Click “Finish”.
Click “OK’ on the confirmation that it was successful.
Now you will need to do the same for “Trusted Publishers” store by Navigating to “Computer Configuration/Windows Settings/Public Key Policies/Trusted Publishers” and repeating all the Import steps above.
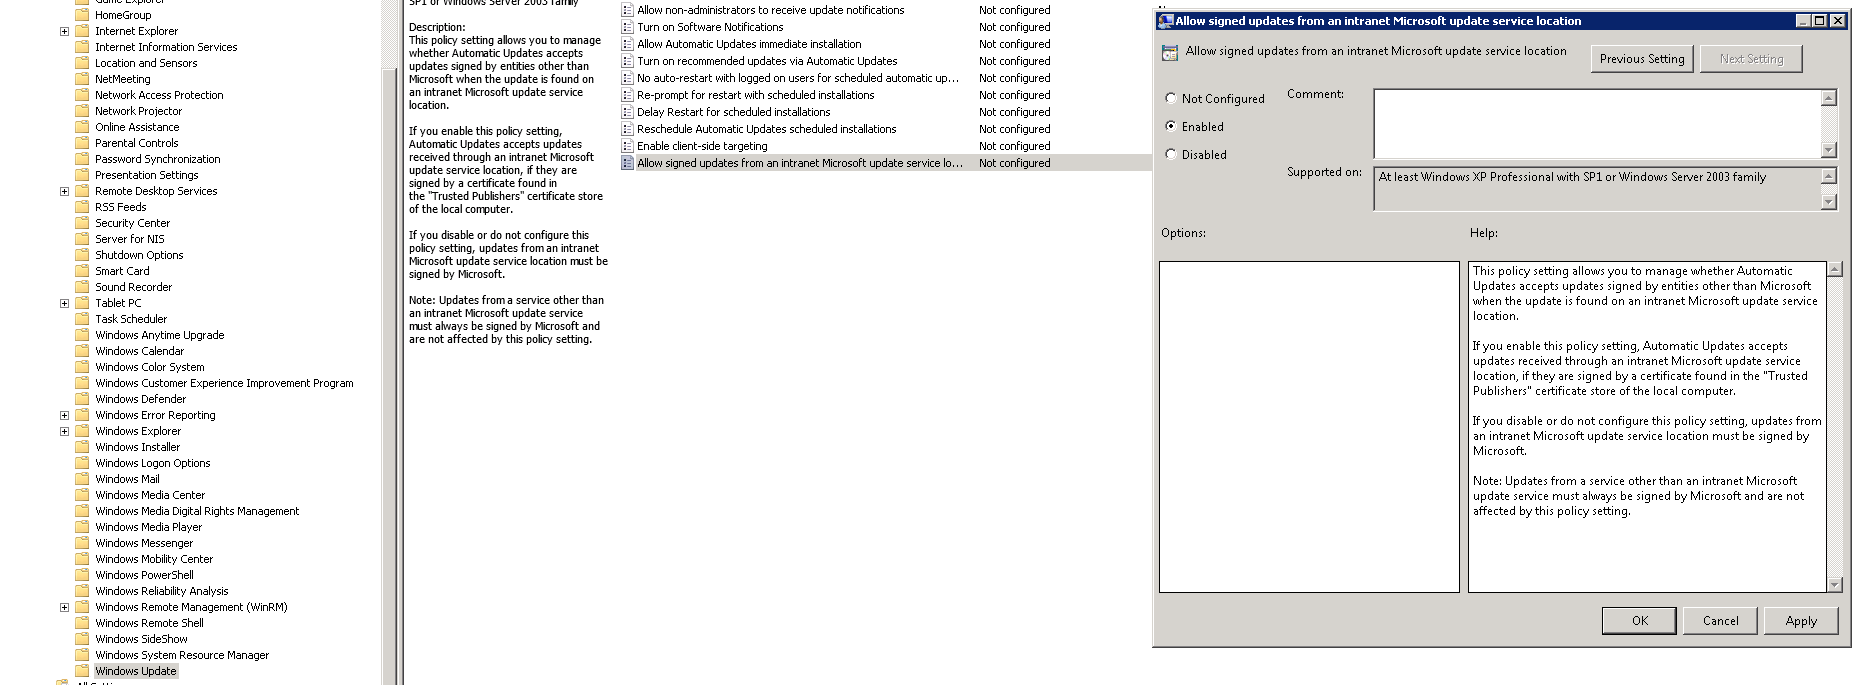
After you have configured the “Trusted Root Certification Authorities” and the “Trusted Publishers” certificate stores, navigate to “Computer ConfigurationPoliciesAdministrative TemplatesWindows ComponentsWindows Update” and enable “Allow Signed updates from an Intranet Microsoft Update service location”. Click Apply and “OK”
You are now finished configuring the Group Policy and can close the Group Policy Editor. When the Group Policy updates on the client machines you will see the certificate you imported into the policy in the “Trusted Root Certification Authorities” and the “Trusted Publishers” certificate stores.
SCUP is now configured and your SCCM clients are now ready to receive 3rd party updates using SCUP. As mentioned earlier, publishing and deploying the updates is out of the scope of this article. In the near future I will be writing about those topics and will add the links to this page when I do. I hope this helps. If you have any questions or feedback, please leave a comment.