
We had uploaded an image that we previously built on a local Hyper-V server a few weeks back. We needed to update some of the components on the image but didn’t want to copy the vhd file back to a local Hyper-V system. So we deployed a copy of the image in Azure, updated all the components we needed to update, and ran Windows update etc.
Once that was completed we sysprep’d it and created a new image from that system. The steps below will detail the process used to accomplish this.
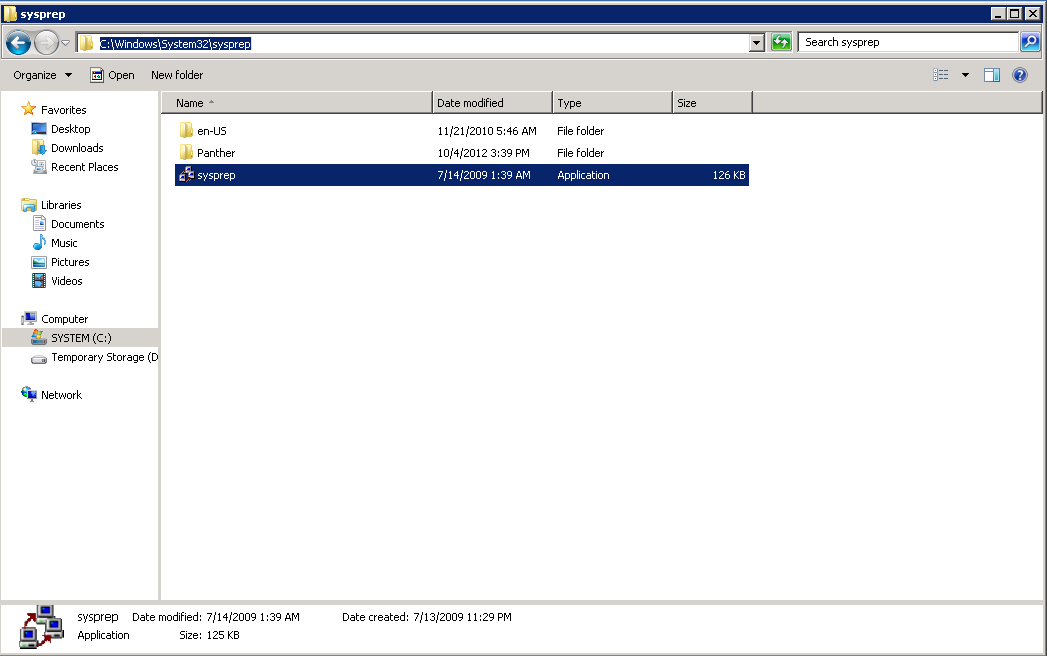
After all of your updates are complete on the VM that you will use as your updated image go to the C:Windows\System32\sysprep folder. Click on the “sysprep.exe” file.
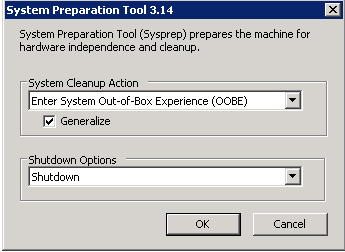
After clicking on sysprep.exe you will be presented with the following options. Choose the options selected in the screenshot below.
The sysprep process will kick off and it will display the progress bar below.
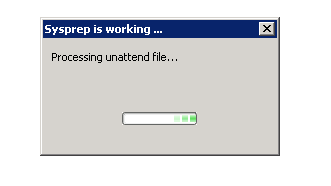
Once complete the VM will shutdown. Now it is in a state where you can create an image from it in Azure.
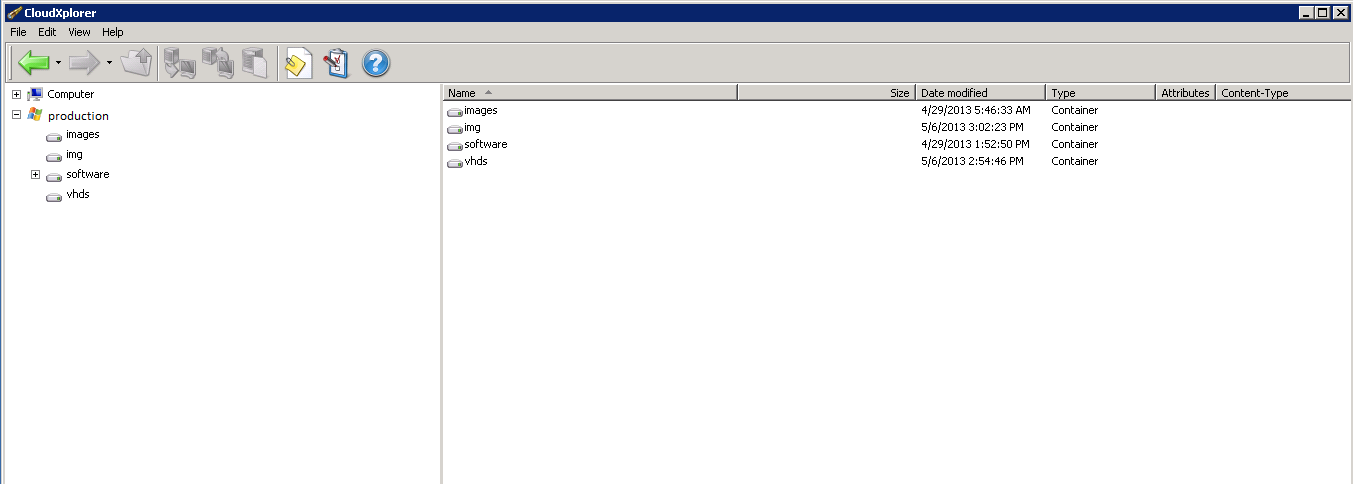
We used CloudXplorer to copy and move around the vhd file to an alternate location.
http://clumsyleaf.com/products/cloudxplorer
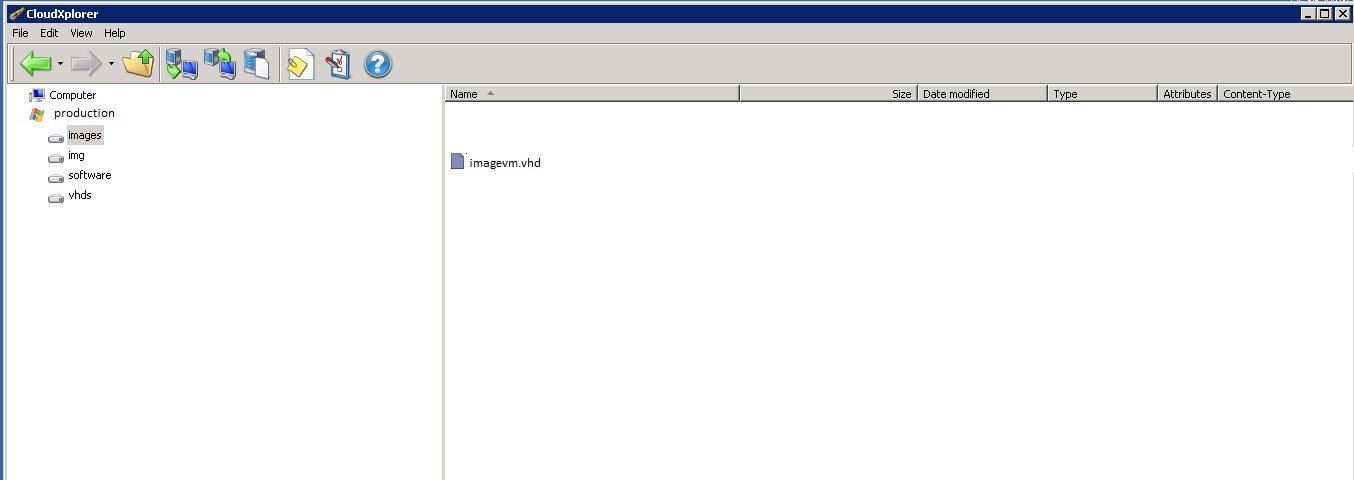
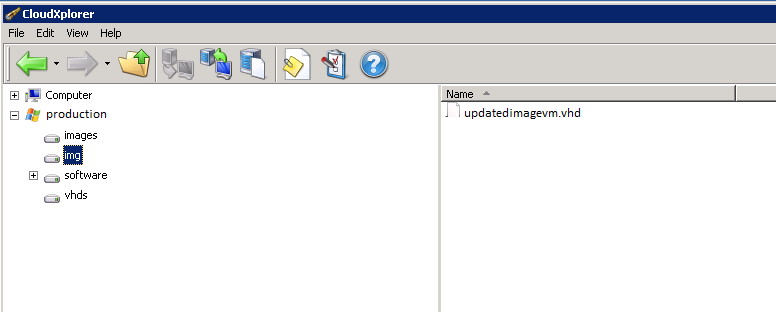
Open CloudXplorer and browse to the storage account that your VM/VHD file is located on. In our case it is on a storage account called production in the images folder. For this example we also created a new container in our storage account called “img” to allow us to copy, rename, and move the vhd file around. To do that just right click in a blank area on the right side and create a new container.
Our image VHD is called imagevm.vhd in the images folder. Right click the file and select copy.
Click on the img folder and paste the vhd file in this container. Then right click the file and rename it. For this example we named it updatedimagevm.vhd. Now you have the .vhd files where they need to be.
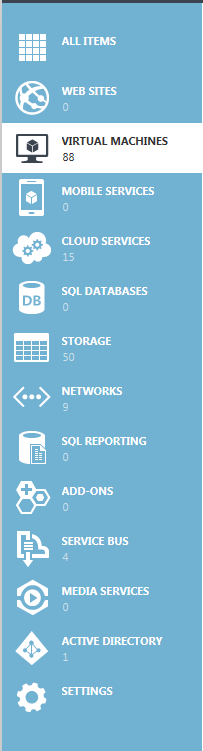
At this point we can return to the Azure console. Click on Virtual Machines.
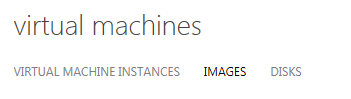
Click on Images.
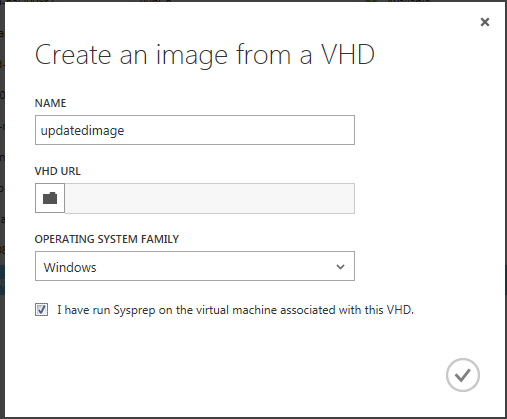
Click on create at the bottom of the screen.

Name the image, select the operating system and place a check in the sysprep option at the bottom.
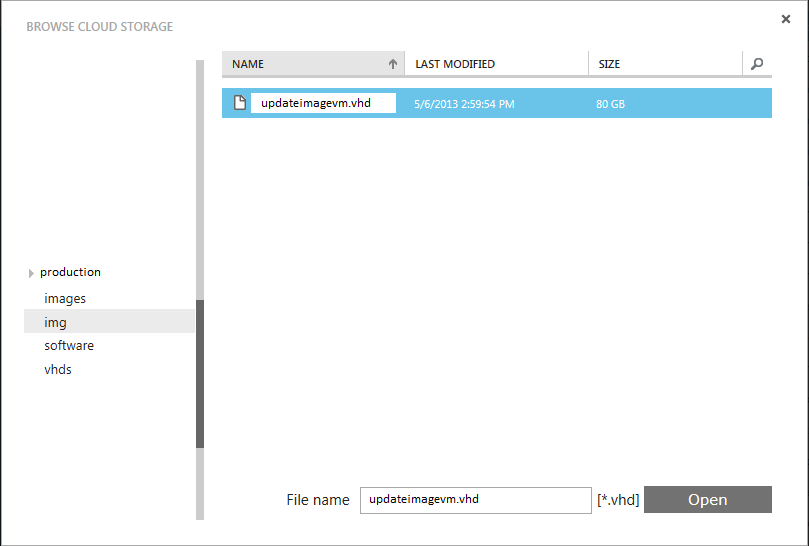
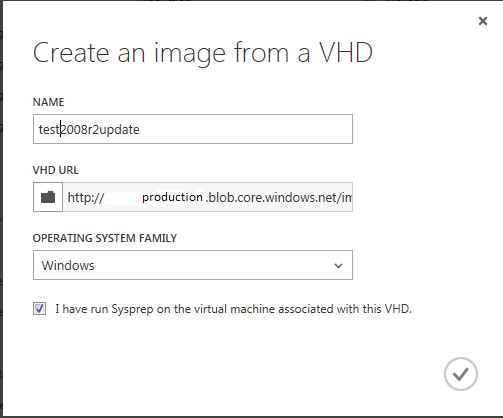
Choose the VHD URL. Then click on open.
Click the check in the lower right hand corner of the screen.
At this point this image creation process will finish. You should see a status like the one below display when it completes.

Your image is now ready to use to deploy updated VM’s