
Hi all,
This blog is meant to simply cover the initial installation steps for Windows Server 2012. It outlines the steps and gives you a feel for what the installation looks like. Follow the steps below to do a fresh install of Windows Server 2012.
Prepare the installation media whether it be a bootable usb or DVD etc… and boot up the server.
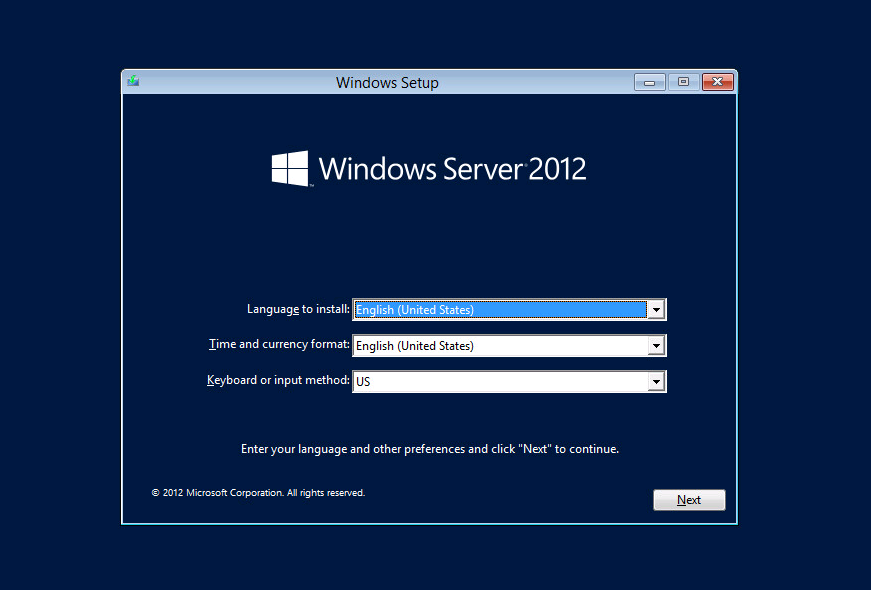
Choose “Language to install”, “Time and Currency format”, “Keyboard or input method” and then click “Next”.
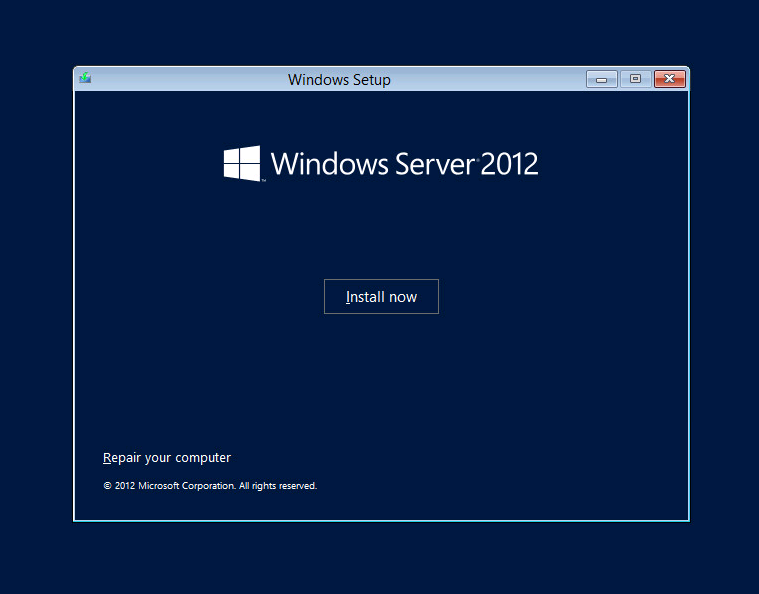
Click “Install now”.
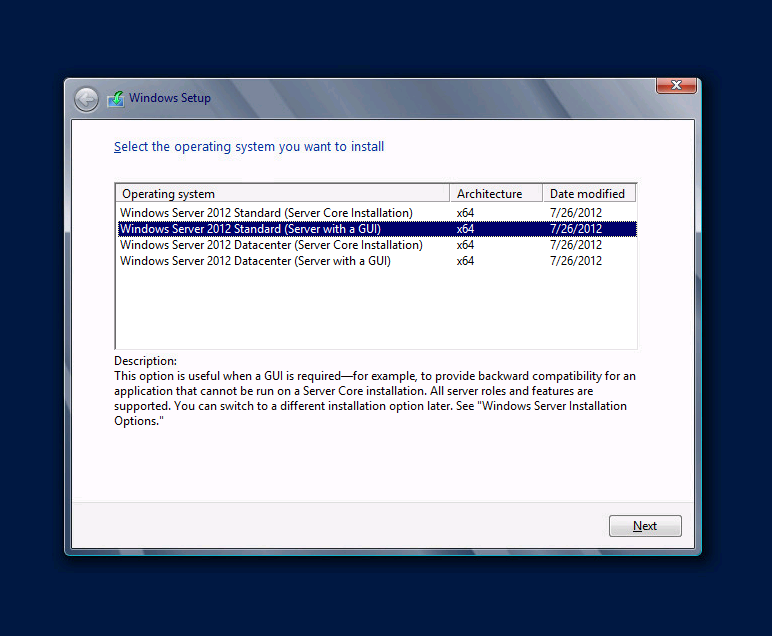
Select the Operating system you want to install. In this example we are installing “Windows Server 2012 Standard (Server with a GUI)”. Click “Next”.
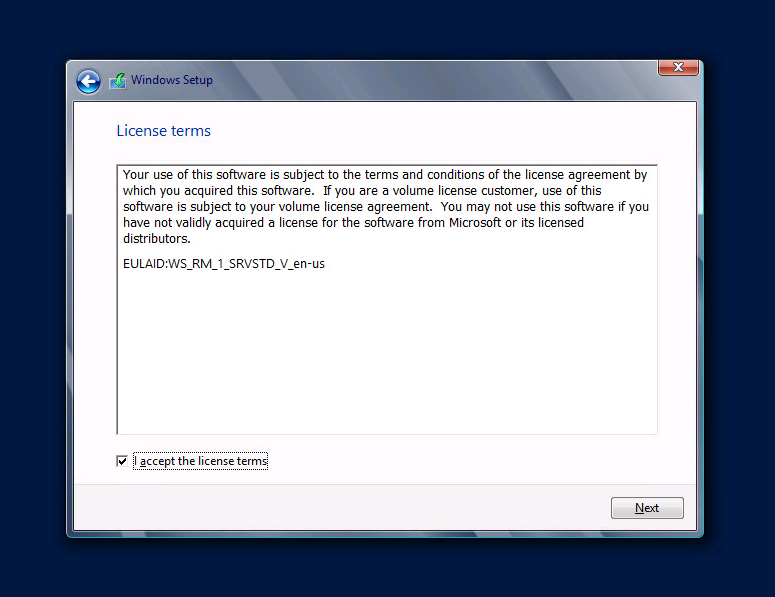
Check the box to Accept the license agreement. Click “Next”.
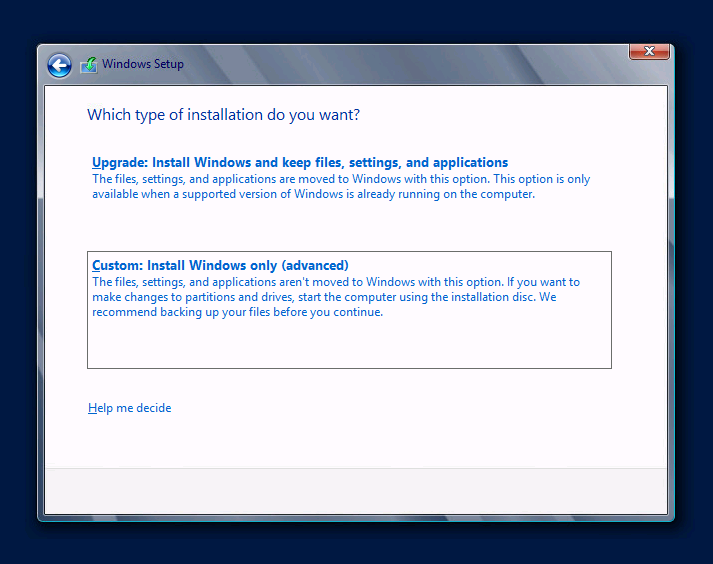
Choose to Upgrade or Custom. In this example we are doing a fresh install so we will choose “Custom: Install Windows only (advanced)”.
After you click custom, you will be asked where you want to install Windows. In this example we have a 60 GB unformatted drive that we are selecting as the install target. Click “Next”.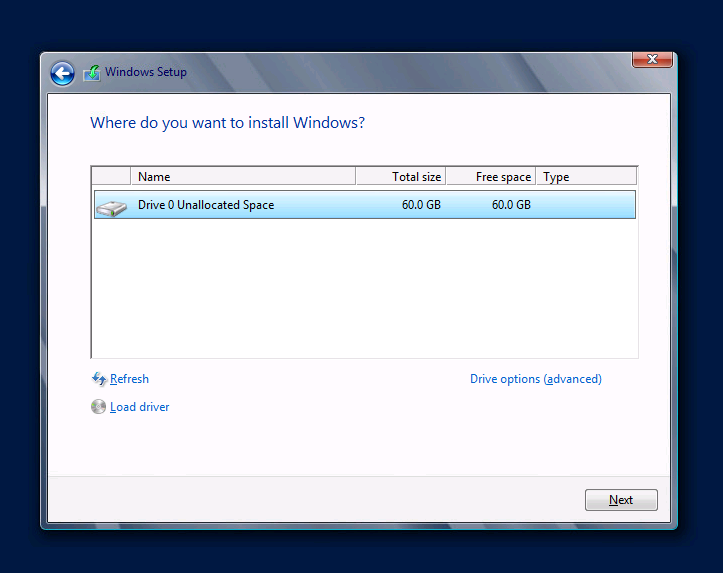
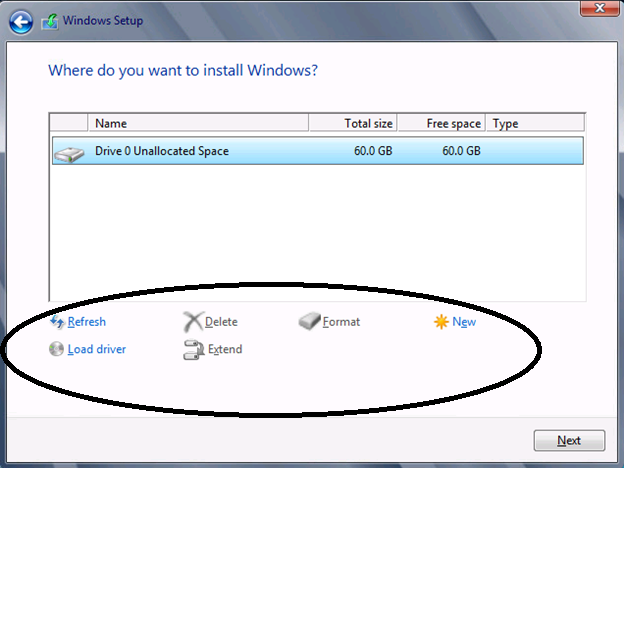
PLEASE NOTE: If needed, you could click “Drive options (advanced)” as seen above and you would be provided with the options shown below to configure your drives. For the purposes of this example we will keep it simple and just choose to install to the 60 GBs of unallocated space.
 Windows will then begin Installing as shown below. Depending on the specs of the server you are installing on, the installation time will vary.

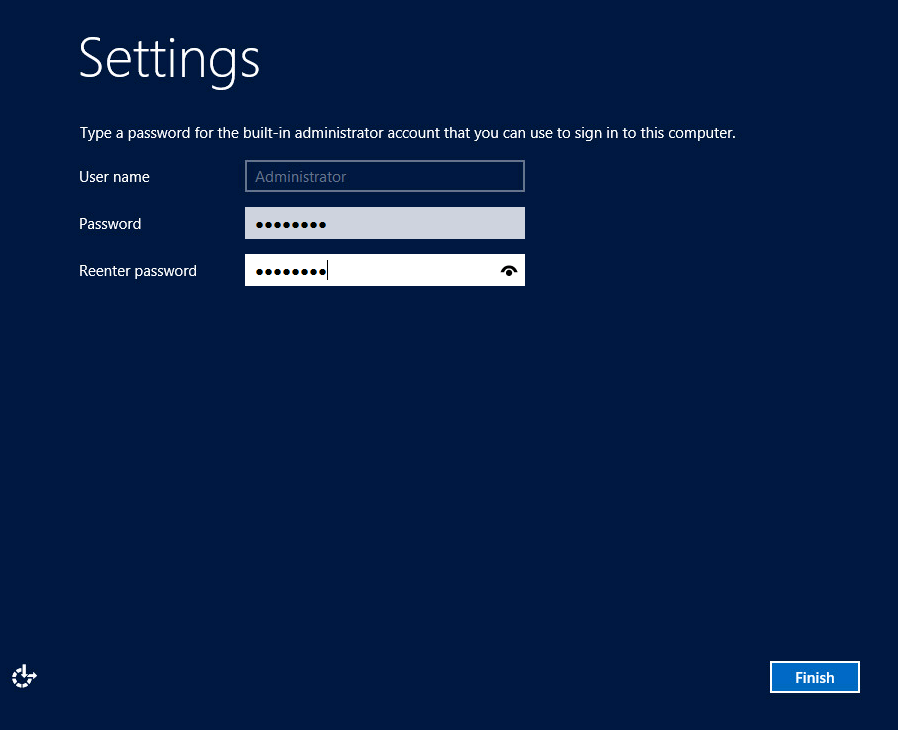
Once the installation is complete, you will be prompted to provide an Administrator password for the new installation as shown below. Type in a password and click “Next”.
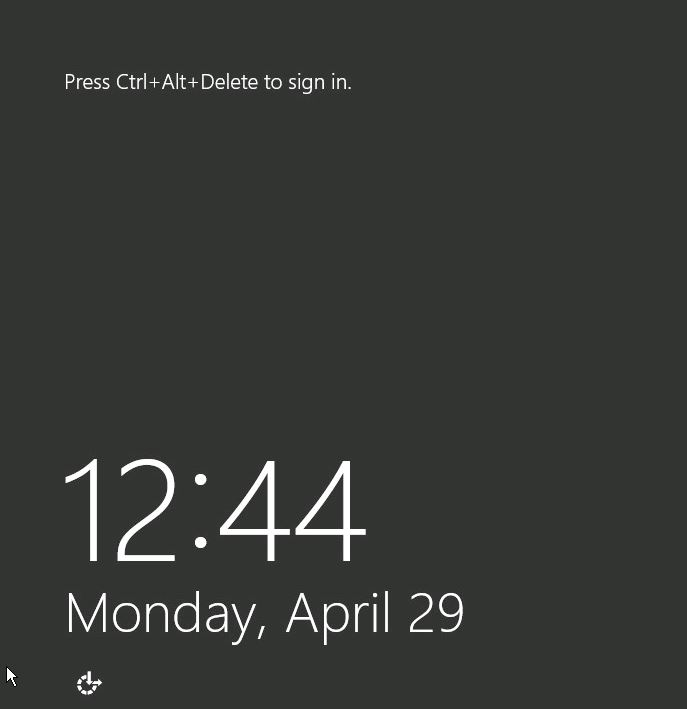
Installation is now complete. You are now done with the initial Windows 2012 install. Press Ctrl+Alt+Del to login.
I Hope this helps. Enjoy! As always, if you have any questions or feedback, please leave a comment.