
The beauty of VMware is that you are able to do so much work during the day and with no impact whatsoever to your users. This is especially true when it comes to doing upgrades to your ESX servers; patching the OS, hardware upgrades or when you want to upgrade your cluster from one version to another.
In this example I will be going over the basic steps needed to upgraded an entire cluster from ESX 4.1 to ESX 5.1.
Before you begin this process there are a few essential things you need to review:
Ensure that you have a way to access the system via console. That could meant that the system is available to you locally, you have someone to be hands on for you in a remote datacenter or that you have remote access via a tool. In this example, I will be using HP’s ILO.
Check your HA and DRS settings. This is especially true if you have a cluster with only 2 hosts. A few items to look for are Admission Control under vSphere HA, Virtual Machine Options and Datastore Heartbeating. A good rule of thumb is if HA has been working for you before and you have been able to put any of the systems in maintenance mode then you should be good to go. It is always good to review though and these are two nice links (ESX 4.1) – http://www.vmware.com/files/pdf/techpaper/VMW-Server-WP-BestPractices.pdf
Once you have determined the basics of your cluster are solid, you are now ready to begin the surprisingly easy steps to upgrading.
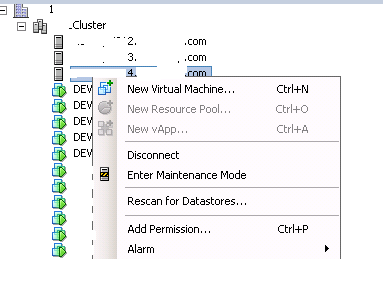
Put the first system you wish to upgrade into maintenance mode. You can do this by right clicking the host and selecting Enter Maintenance Mode. Your systems will automatically vmotion to the other hosts.
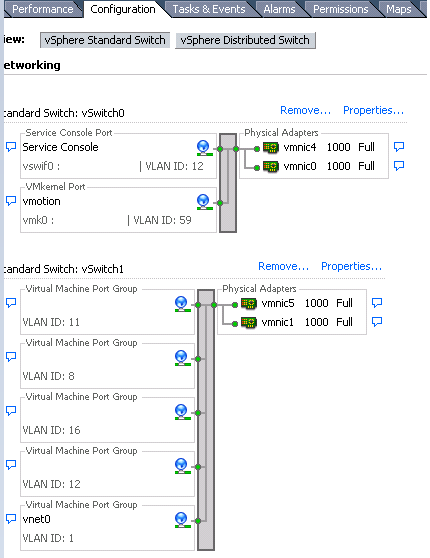
At this point, take notes regarding your Networking and Storage. This can be found by highlighting the host you are upgrading and going to the Configuration tab in vSphere Client. Items to note:
Which vmnics are uses for which vswitch. You will be duplicating this once the server is rebuilt.
The VLAN of the Service Console. Really! When rebuilding and it says that the VLAN is optional please note that is isn’t optional if your ports are setup as trunk ports.
I would also note the VLANs of vmotion and other Virtual Machine Port Groups including iSCSI.
The IP addresses.
All datastores connected to the host. **This is very important because as a precaution we will be disabling the HBA cards during the rebuild to prevent accidentally choosing a datastore and wiping out.
Now that you have your host in maintenance mode and have noted all networking and storage you are ready to disconnect the server and remove it from the cluster.
Right click your ESX server that is in Maintenance Mode and select Disconnect. The System will grey out and show (disconnected).
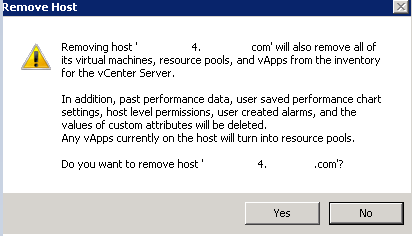
Then right click the disconnected system and select Remove. You will receive a popup regarding pools, etc. Click Yes. The server will no longer be in the cluster.
You are now ready to rebuild the system. I prefer to actually wipe the server and install the newer version of ESX cleanly in order to take advantage of any configuration changes to the OS. This is especially true regarding file structures.
Login onto the server either locally or remotely as root.
Type reboot and hit enter.
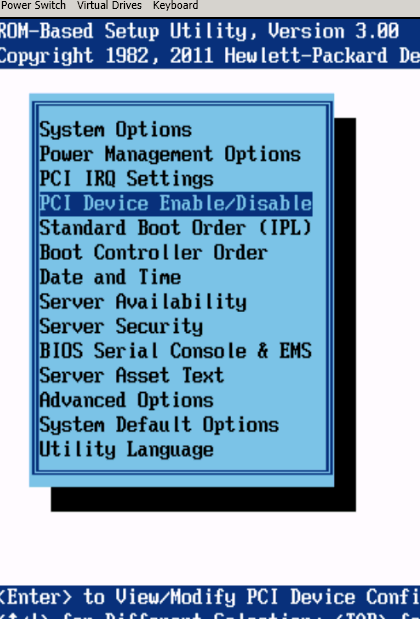
As the server is coming up you will need to wipe the local Logical Drive and create another one. In addition, go into your BIOS to DISABLE your HBA cards. *Another option is to pull your fiber cables from the system locally. This way when the install comes up it only has your local disk available for the installation. For those who have ESX hosts that boot off of SAN disk, additional information regarding precautionary measures will be coming shortly.
You are now ready to begin the Installation.
The installation for ESX 5.1 is extremely easy. Screen shots are almost self-explanatory.
Either put in CD or, such as in my case, mount the ISO so it is accessible to the machine. If mounting ISO try to have file in same datacenter just for speed alone.
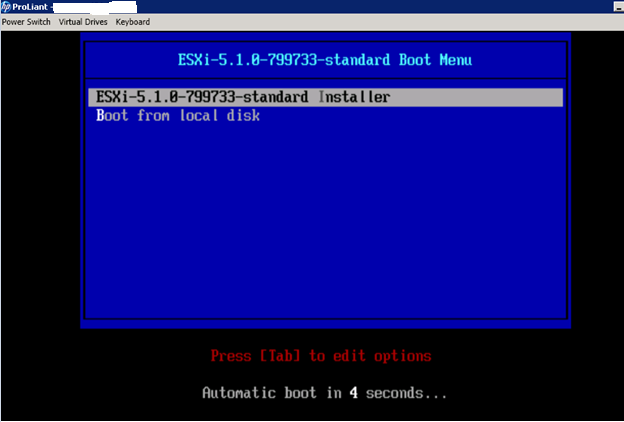
In my case I chose the first option: ESXi – 5.1.0-799733-standard Installer. Boot from local disk is for USB.
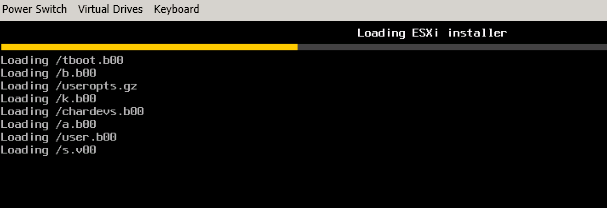
You will see it loading the Installer files. **Note – it will stay on Loading/tools.t00 for a bit longer than the other components.
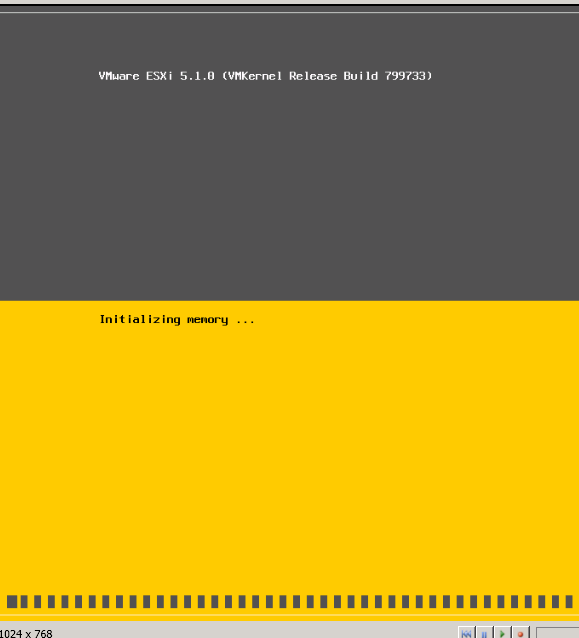
It will then begin to initialize.
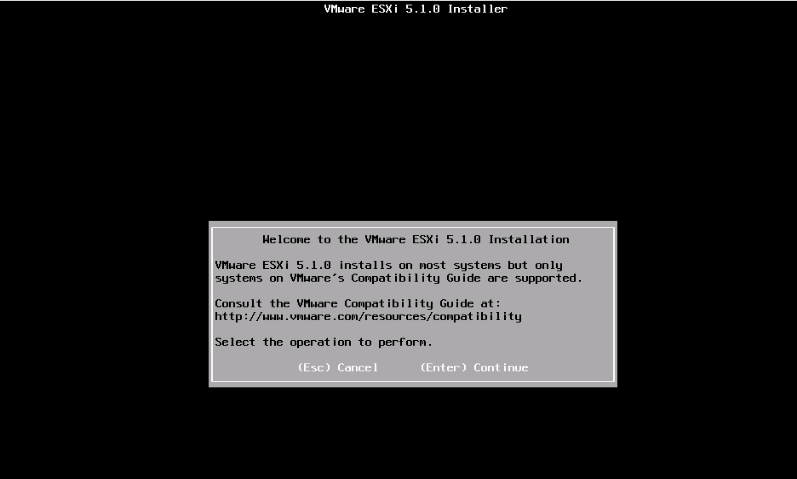
Hit Enter to begin actual Install.
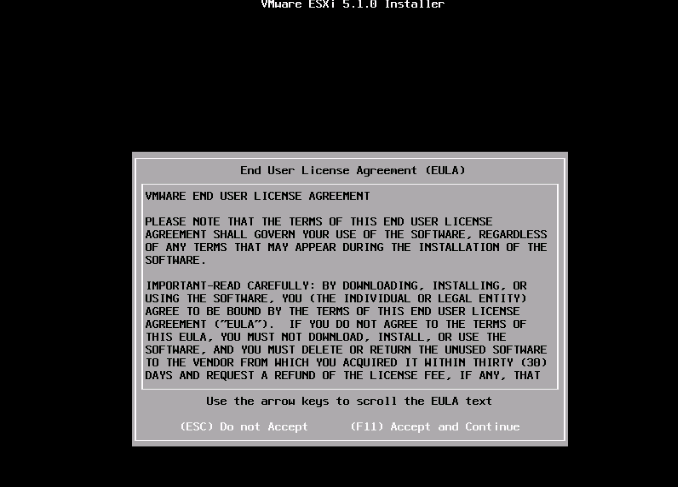
Yes, you must accept the license agreement.
Scanning…
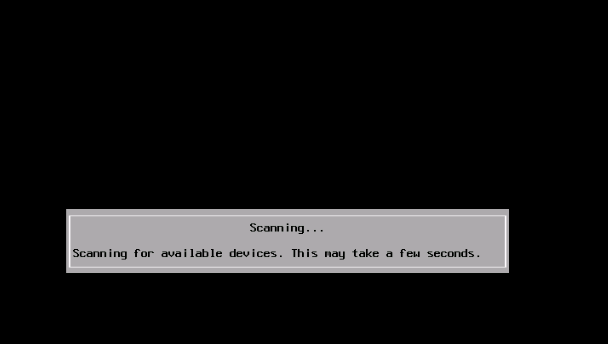
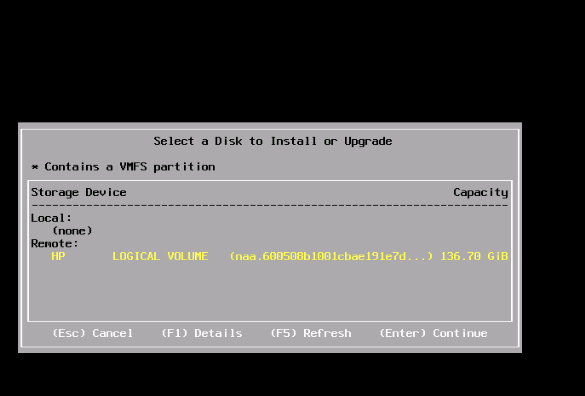
This is the step where you will most appreciate disable the HBA cards or pulling the fiber.
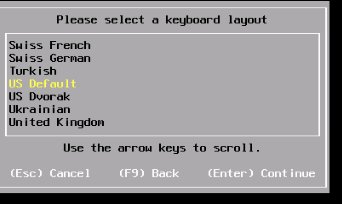
Choose your keyboard layout.
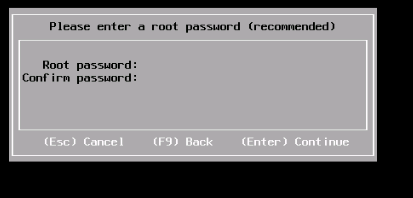
Password setup. *Yeah, you will want to remember this.
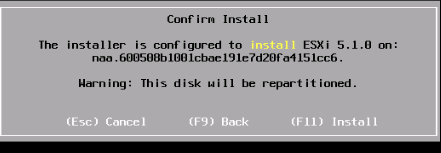
F11 to install
Sit back and enjoy your beverage of choice. This generally doesn’t take very long though unless you are hindered by a slow network.

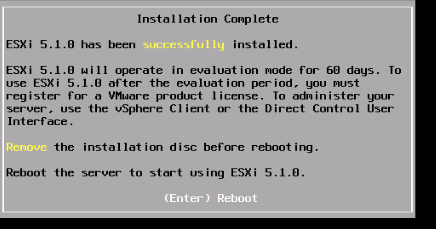
And Success! Remove the CD or unmount your ISO and hit enter.
As the server comes back up, go back into BIOS and enable your HBA cards.
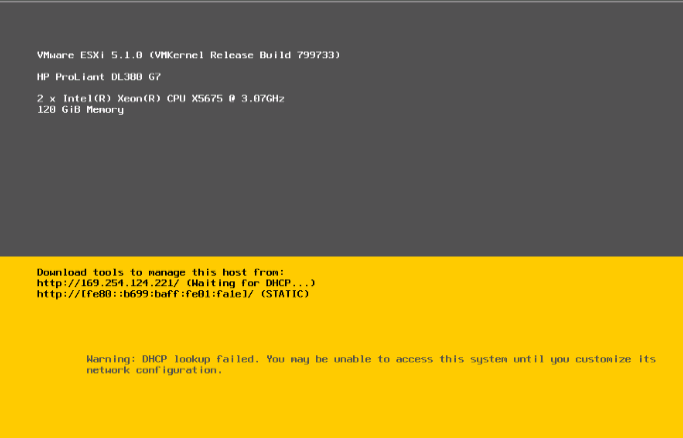
When the server comes up you will be at your login Screen. You will see notes regarding DHCP, etc. All this will be cleared up after you configure your network.
Hit F2 to login (using the root password configured during install). Your first step will be to Configure Management Network.
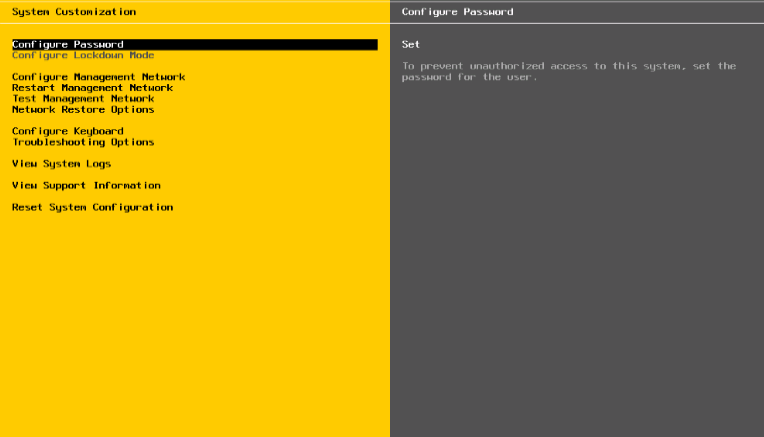
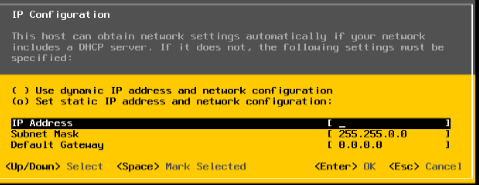
IP Configuration. VLAN is not optional! Be sure to fill that in because if you don’t you will not be able to ping anything including your default gateway. Be sure to use the IP address you noted before you began the installation.
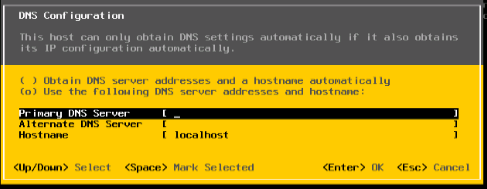
Configure your DNS
On the off chance that nic0 on your system was not chosen during installation (or that this nic is not the one you have configured to be your first management port), you can go into Network Adapters under the Configure Management Network and select the nic you would prefer to use. You will see all the nics and whether they are connected are not.


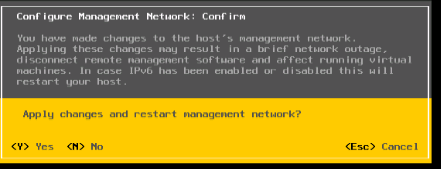
After you have plugged in your networking information you will be asked to apply your changes. Type Y and hit enter. The first time you configure your system will reboot!
When server comes up, login and run Test Management Network
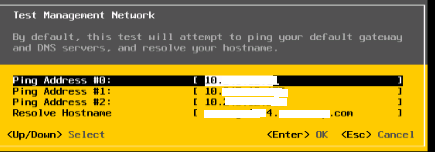
You should receive OK beside each test. *It helps to ensure that your hostname is already in DNS. As this is a rebuild, it should be but good to check if Resolve Hostname comes back with a Fail.
To recap, some basic problems arise with wrong IP, subnet or Gateway. The wrong adaptor could have been chosen and thus perhaps not on correct VLAN. Or you didn’t set your VLAN.
Ping the host. If you are able to get a response you are now able to add the host back into the datacenter (NOT the cluster) to finish your configuration and to do some testing.
Adding your host back into the Datacenter to be fully configured and tested.
So first, let me repeat myself. You do not want to add the server back into the cluster! You only want to add it to the Datacenter. Adding it to the cluster will cause VMware to try to configure HA, etc. Vmotion, vswitches and storage all need to be configured or confirmed before you add this system back into your cluster.
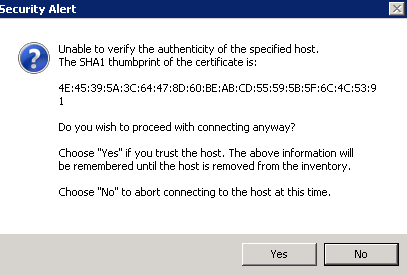
To add your host into the datacenter, right click your datacenter and select Add Host. The Add Host Wizard appears. Fill in the host name (FQDN) and then supply the root credentials. You may receive a pop up regarding the certificate. Just click Yes.
Click Next
Select your license key or leave at Evaluation Mode if you don’t have the key yet.
You will receive option to Enable Lockdown Mode. Go by your company policy but if not sure don’t enable.
In the Select a location for this host’s virtual machines, either stay at the top of the Datacenter or choose the Resource Pool that applies.
You will be asked to review your selections.
Click Finish.
Your machine will appear at the very bottom of the Datacenter underneath all the clusters. Initially it will show up greyed out and disconnected. Please give it a few minutes.
Configuring your Host
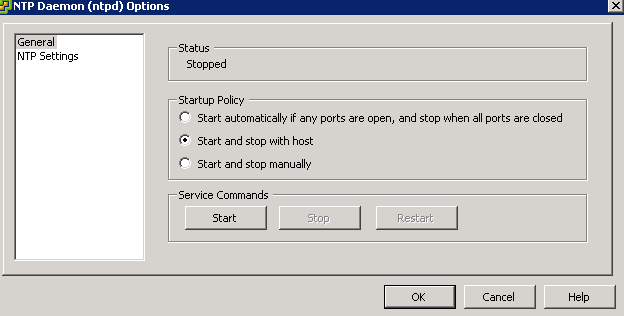
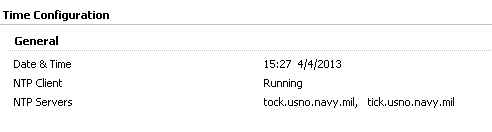
It is important to set up NTP on an ESX host. Mismatched times can have some pretty undesired results. To do this, highlight the new host and go to the Configuration Tab in the vSphere Client. Under Software, select Time Configuration. Select to Enable NTP.
Under General, I select Start and stop with host.
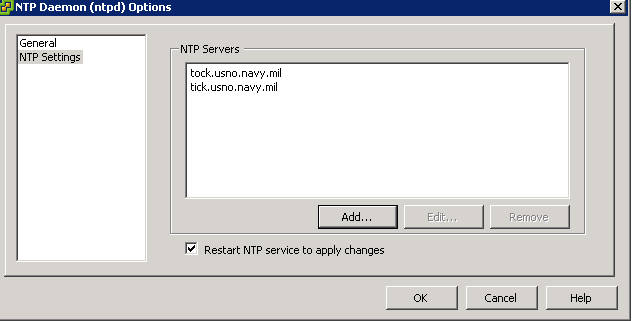
Under the NTP Settings, click on Restart NTP service to apply changes.
Add in your NTP servers. This could be an internal system or external. In my example I use tock.usno.navy.mil and tick.usno.navy.mil
Click OK
It may take a few moments but you should see the following when completed.
Confirm that you host sees all the correct storage.
Reconfigure your networking. This should match up to what you previously had in terms of names and VLANs. For example, if you had vnet1 on VLAN 1 this should be recreated exactly the same including upper or lower case letters. You may have decide to change the amount of nics you are using, etc. but the names and VLAN’s should stay the same for purposes of vmotion.
You are now ready to test your system.
To test that your system is configured properly so that you are able to add this back into the cluster
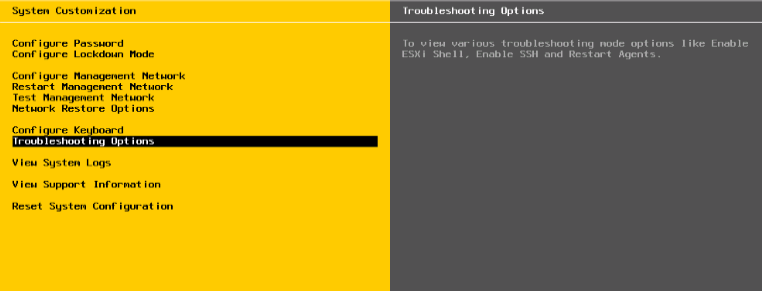
Enable SSH. To do this go back into the console of your host and select Troubleshooting Options.
SSH into a system already in the cluster. From this system ping the Service Console IP (Management Network) and vmotion IP. You should be able to get a reply back successfully.
*This step assumes you have two vmnics assigned to your Management Network. Start two continuous pings; one for the Service Management IP and the other for the vmotion IP. Go into the Properties of vSwitch0 (or whatever you have named your Mangement Network vSwitch). Remove one of the vmnics and wait about one minute. Ensure the ping is still successful. Add that vmnic back.
Do step 3 for all the vmnics assigned to the Management Network.
*If you would like to keep ESXi shell and SSH enabled you will need to clean up an alert under the Summary tab.

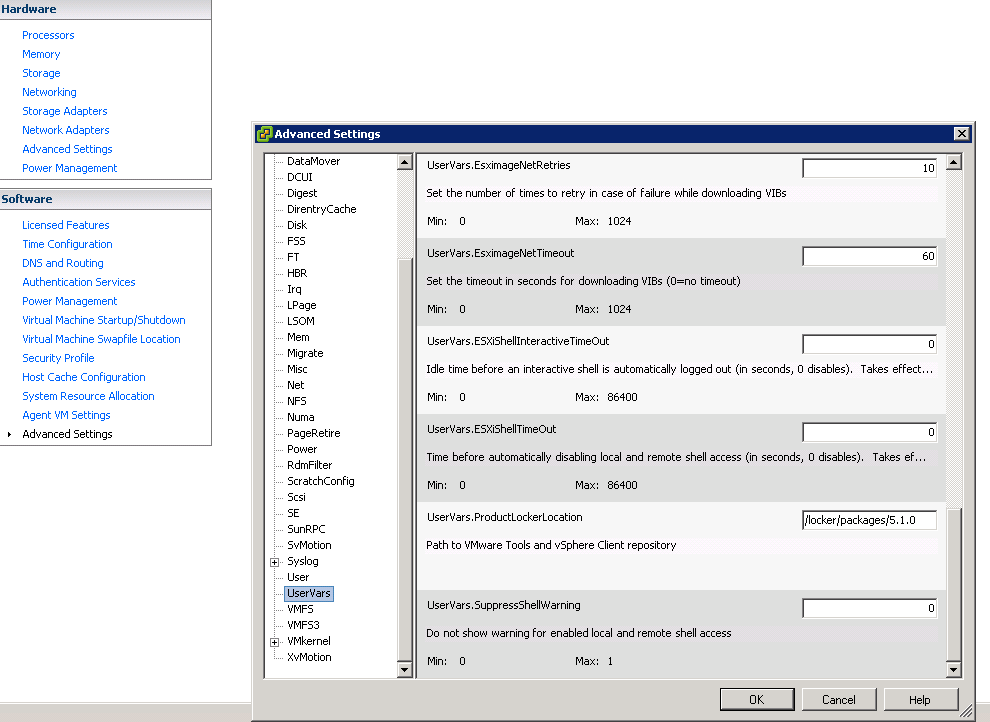
Select your host. Go to the Configuration Tab and under Software click on Advanced Settings.
On the left, scroll down to UserVars and highlight
On the right, scroll down to the very bottom to UserVars.SuppressShellWarning.
Change the setting from 0 to 1. Click OK and the error clears out almost immediately.
Adding the host back into your cluster.
Just drag and drop the host into the correct cluster. You will get an Add Host Wizard Box pop up.

As you are adding this host back into an already configured cluster the first option is fine. You have not created any pools on this newly installed host.
Click Next and a Summary page comes up. Click Finish.
The host will appear in your cluster with a yellow alert. This occurs because the cluster is configuring the new host for HA. You will see this complete in the Recent Tasks pane at the bottom of your vSphere Client.
Be sure to manually vmotion a few systems over to the new host. Try to choose vms which are on different VLANs and on different storage just to test different components.