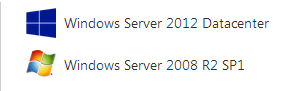
In this article we will step thru the process of building a new Windows 2008 R2 Virtual Machine in Windows Azure. We will be creating the system from a template we built and uploaded to Azure (Uploading files to Azure). You can also build a system with the default templates pre-built by Microsoft. The pre-built Windows Server VM templates include Windows Server 2012 Datacenter and Windows Server 2008 R2 SP1.
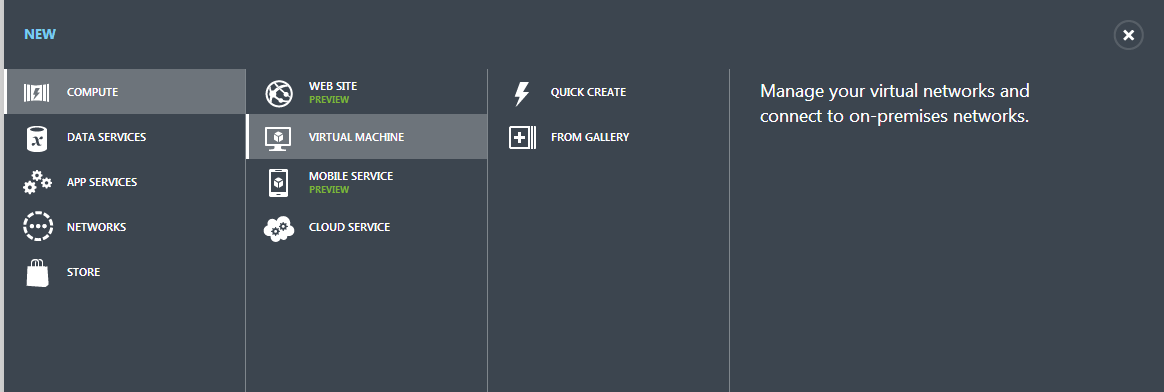
To begin the process of creating a new VM in Azure click on the “new” icon in the lower left corner of the Azure console

Click on Compute -> Virtual Machine -> From Gallery
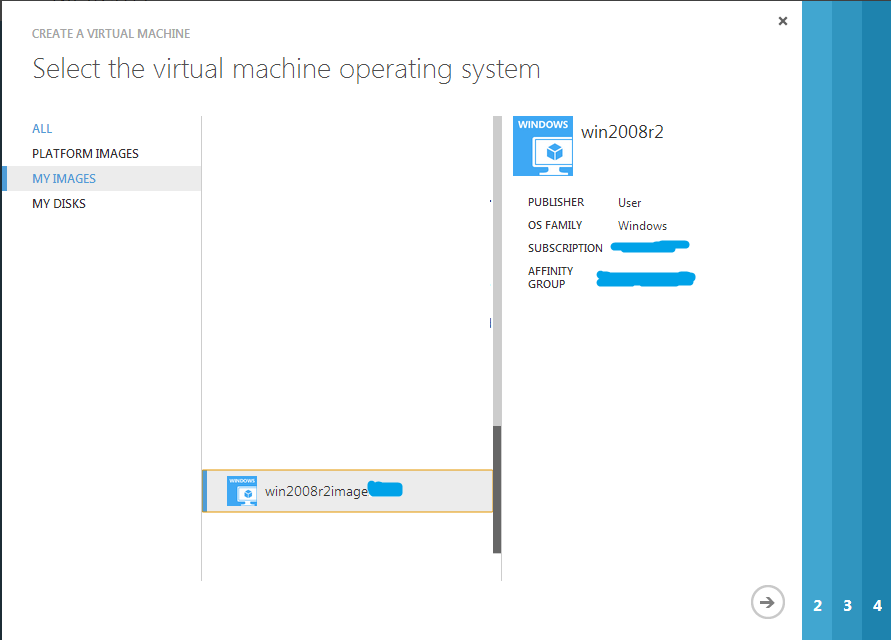
For this article we will select “My Images”. Here you can also select Platform Images to get the pre-built MS images if that is your preference. Select the image of your choice and hit the -> in the lower right hand corner.
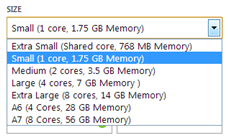
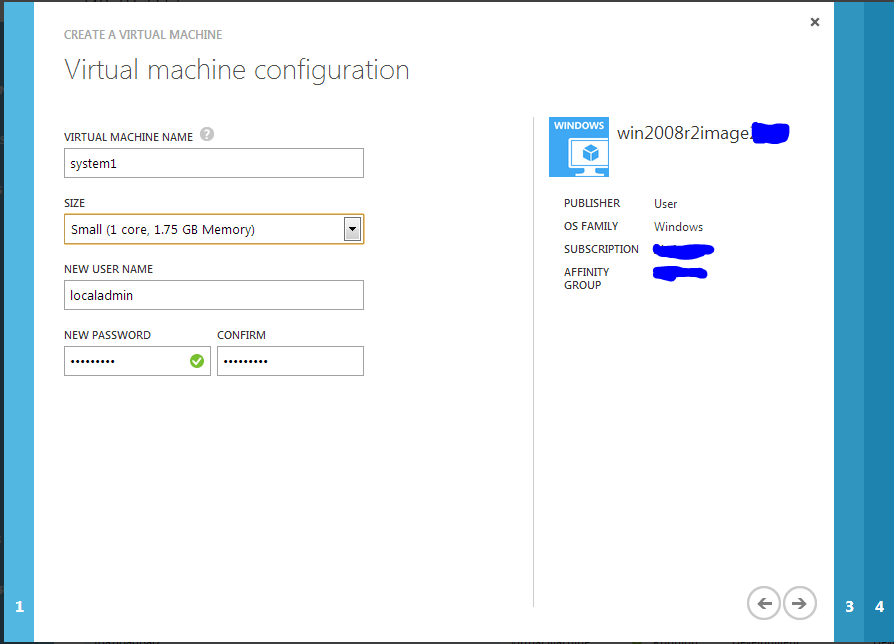
Name the system to your liking, select the size. Your options are as follows:
Add a username and password in and click the -> in the lower right hand corner.
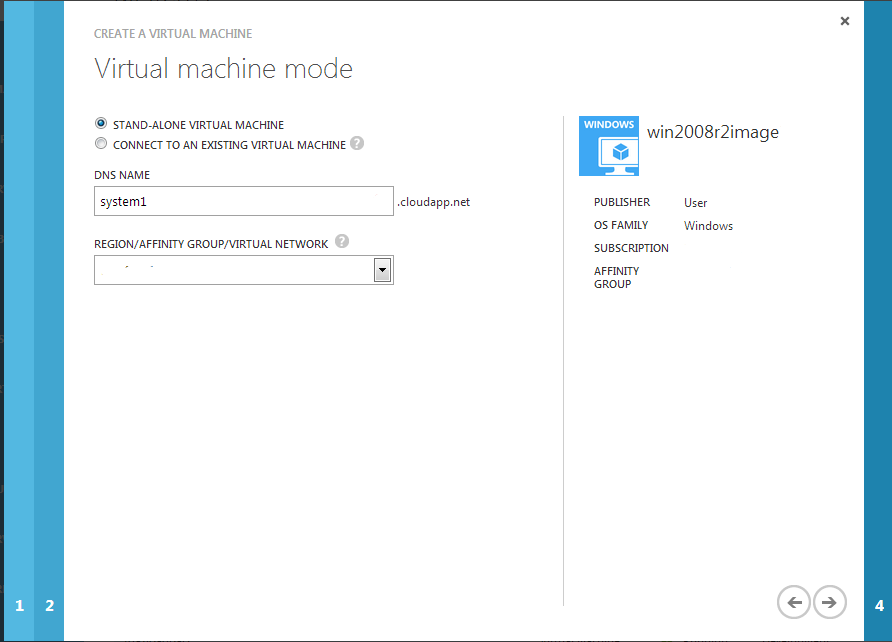
Add the DNS name of the system. Keep in mind this will need to be somewhat unique as it gets assigned the .cloudapp.net domain so there is a chance a generic name will already be in use. Choose your Region/Network/Affinity Group (creating an Affinity Group) and click the -> in the lower right hand corner.
Creating Azure Affinity Groups
Assigning a VM to an Azure Affinity Group
**The screenshot has been blanked out intentionally**
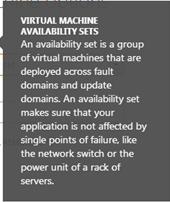
This system will be part of an availability set. Below is a screenshot of the description of an availability set.
Create an appropriate name for the Availability Set that will link these 2 systems. Your call on leaving Remote Powershell enabled or disabled.
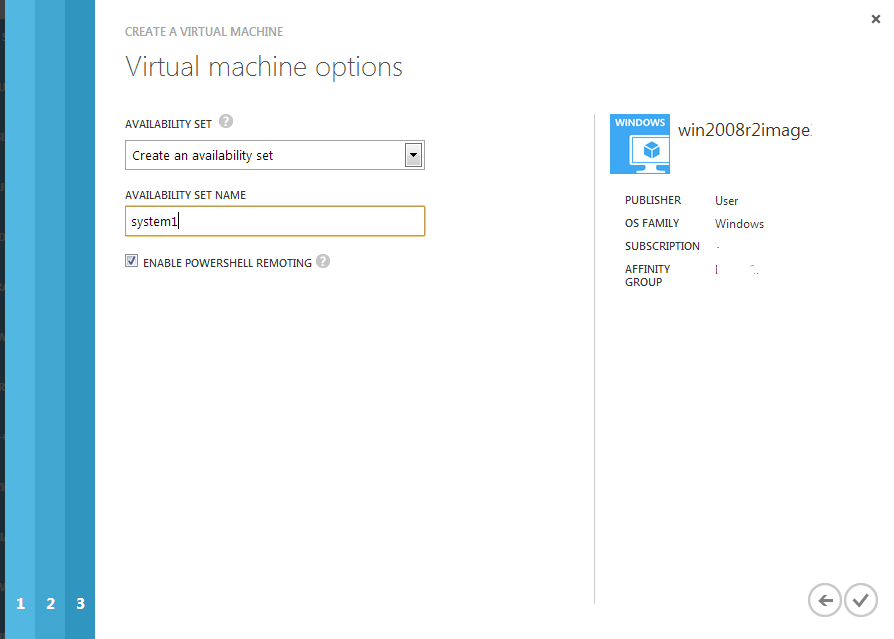
Click the -> in the lower right hand corner. The new VM process will kick off. You will see a status bar in the Azure console during the process.
![]()