
Hi all,
In this blog I want to go thru the steps of installing Exchange 2010 Service Pack 3. Before we begin the install there are a few things I would like to note.
First, when installing SP 3 on Exchange 2010 you should upgrade the server roles in the following order.
Client Access
Hub Transport
Unified Messaging
Mailbox
Edge Transport
Second, if you are upgrading Client Access Servers in a CAS Array behind a load balancer, the Client Access server being upgraded should be removed from behind the load balancer during the upgrade process.
Third, backup any custom files you may have such as OWA login page customizations.
Fourth, if you are running the upgrade on Exchange Servers that are located in a Domain other than the Domain that contains the Schema Master, you will have to run the Schema update separately. If the Exchange servers reside in the same Domain as the Schema Master, the upgrade installer will run the schema update automatically.
In the case of the lab for which I am running this upgrade, I have 2 CAS servers in an array. These 2 CAS servers also have the Hub Transport Role installed on them. I also have 2 Mailbox Servers in a DAG configuration. It is a Multi-Domain Forest and the Schema Master lives a different domain from the Exchange Servers.
Running the Schema Update Separate from the Upgrade
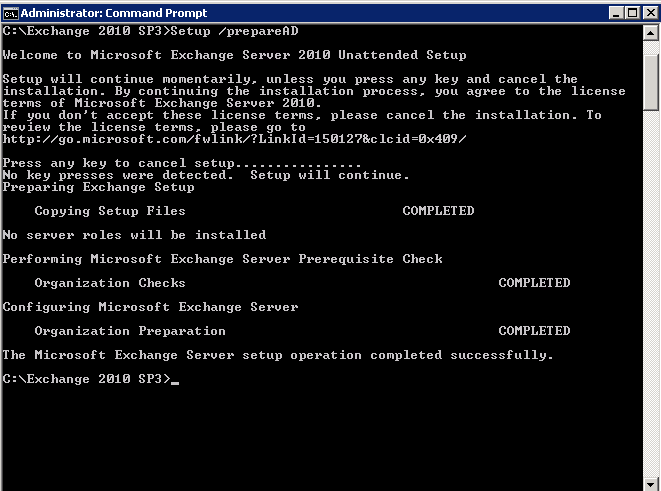
To run the Schema update separately from the Exchange Server upgrade, download the Exchange 2010 SP3 install files from Microsoft’s website. Copy the Exchange SP3 Setup files to a 64 bit Domain Controller in the Domain that contains the Schema Master. Logon to the Domain Controller with an account that is a member of both the Schema Admins and Enterprise Admins groups and run setup with the prepareAD switch. To do so, open a command prompt as administrator, navigate to the directory with the setup file (in my case “c:\Exchange 2010 SP3”) and type the following:
Setup /prepareAD
Successful completion will look as follows:
Upgrading the Client Access Servers
Logon to the CAS Server as member of the Organization Management group (if the schema update is not run beforehand, this account will also need to be a member of the Schema Admins and Enterprise Admins group as well since the schema update will now run as part of the upgrade process).
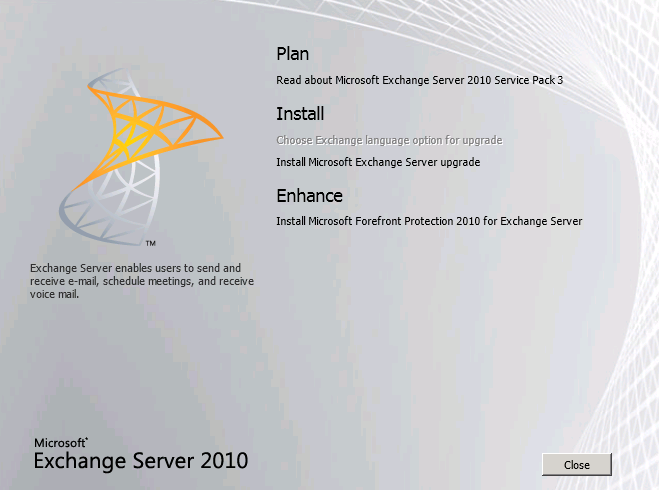
Navigate to the directory where you have extracted the Exchange SP3 install files and run “setup.exe” as administrator. When the installer starts, choose “Install Microsoft Exchange Server upgrade” under “Install” as shown below.
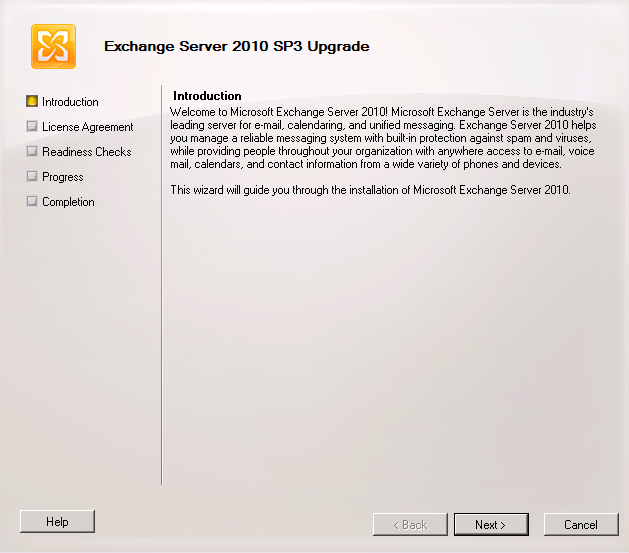
On the “Introduction” screen click “Next”.
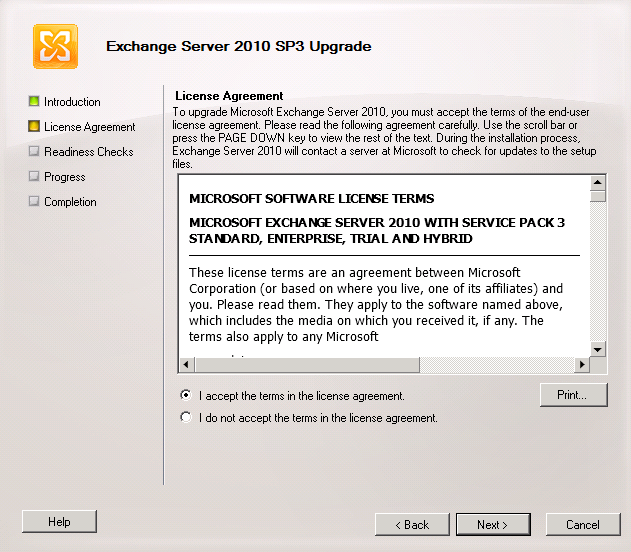
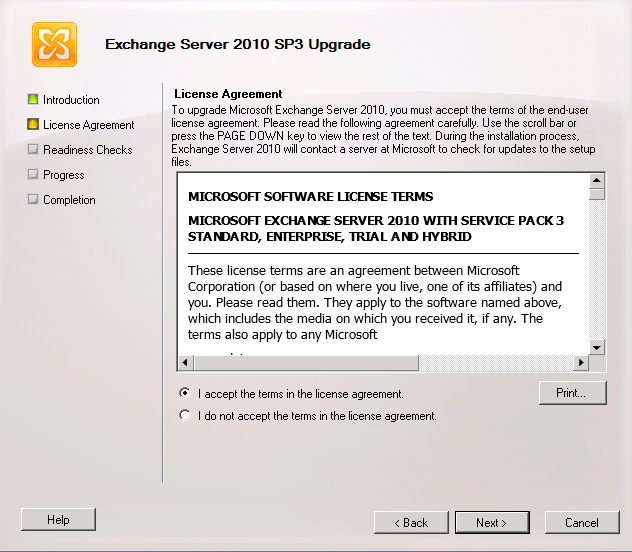
Accept the License agreement and click “Next”.
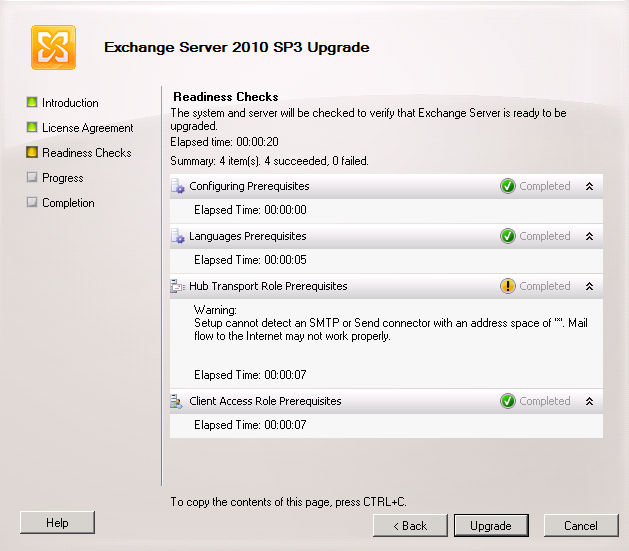
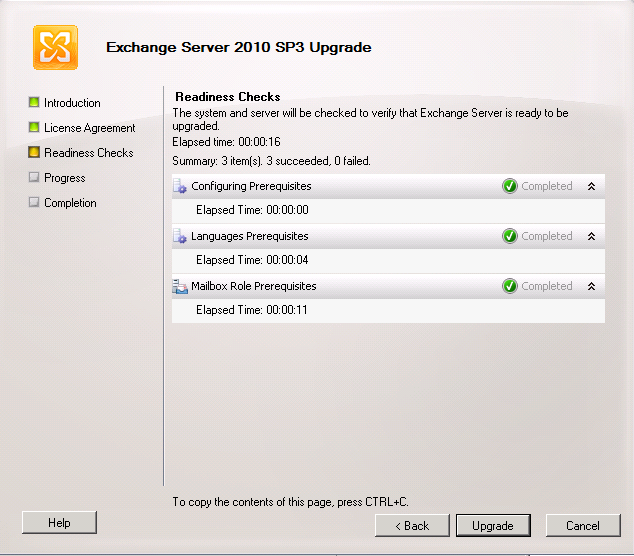
On the “Readiness Checks” screen, a check will be run to make sure all prerequisites have been satisfied. As you can see from the illustration below, I’m being told that I’m missing the “IIS WMI Compatibility” component. Correct any prerequisites if necessary and retry the readiness checks (if all prerequisites are met you will just need to click the upgrade button).

I hit retry and all check are passed with one warning which can be ignored since this is a lab and the Send Connector is not configured. Now click the “Upgrade” button as shown below.
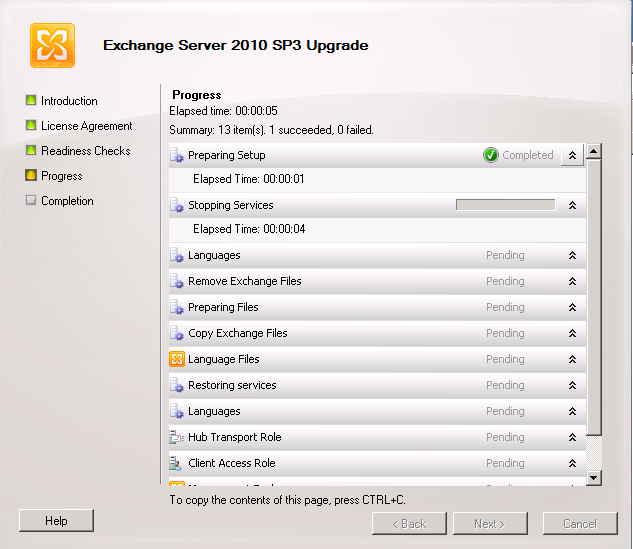
The Upgrade will start as shown below.
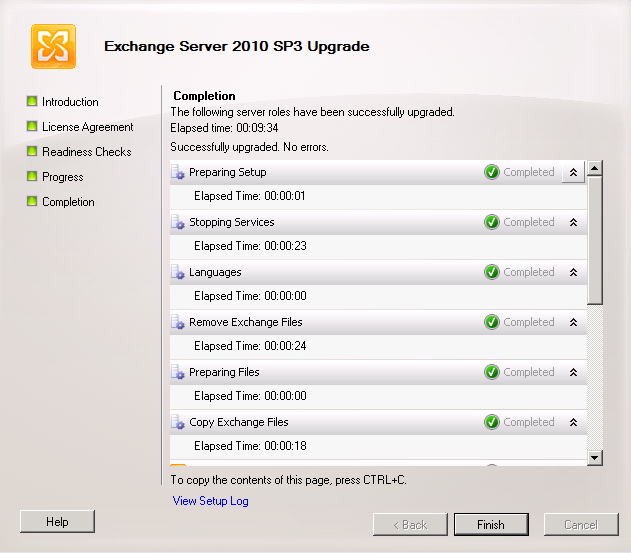
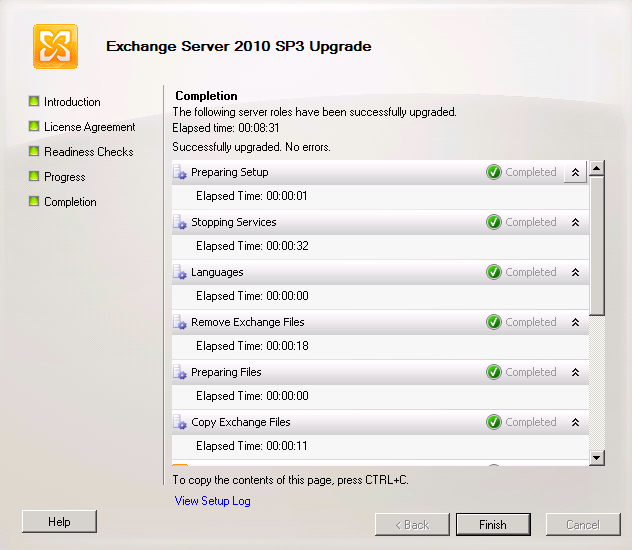
Once the upgrade is complete click “Finish” as shown below. Reboot the server. If necessary, put the CAS server back behind the load balancer and conduct you’re testing. If everything checks out ok repeat the steps from the “Upgrading the Client Access Servers” section of this article until all CAS servers are complete. Since my lab consist of 2 CAS/Hub Transport Servers and 2 Mailbox Servers in a DAG configuration, I will repeat the above steps on both CAS servers and then move on to the Mailbox servers in the next section.
Preparing the Dag Members before performing Maintenance
In my lab scenario, I host Active Databases on both DAG members.
Logon to the Mailbox Server where you will be running the upgrade maintenance. Open the Exchange Management Shell as Administrator and navigate to the scripts directory under the Exchange Server directory. This location may vary depending if you changed the default install directory when you installed Exchange (the default installation directory is “C:\Program Files\Microsoft\Exchange Server\V14\Scripts”). Run the following script from the scripts directory by typing the following and replacing servername with the name of the mailbox server you will be performing maintenance on.
.\StartDagServerMaintenance.ps1 Servername
Running the above script will move all active databases to the other DAG member and block them from being moved back to the server you are performing the upgrade on.
To verify that the Active Databases have been moved to the other DAG member you can issue the following command in the Exchange Management Shell.
Get-MailboxServer | Get-MailboxDatabaseCopyStatus –Active
Upgrading the Mailbox Servers
Now we are ready to begin running the upgrade on the Mailbox Server.
Logon to the Mailbox as member of the Organization Management group navigate to the directory where you have extracted the Exchange SP3 install files and run “setup.exe” as administrator. When the Installer starts, choose “Install Microsoft Exchange Server upgrade” under “Install” as shown below.
On the “Introduction” screen click “Next”.
Accept the License agreement and click “Next”.
Now the “Readiness Checks” will run as shown below. If there are any issues, rectify them if necessary. Click “Upgrade”.
When the upgrade is complete it will look as shown below. Click “Finish” as shown below. Reboot the server.
Re-enabling the DAG member that was upgraded and preparing the next one for Maintenance
Once the update is complete and the server has been rebooted, you can run the following script on the Mailbox Server you just upgraded to put it back into use. Open the Exchange Management Shell as administrator and navigate to the scripts directory under the Exchange Server directory and type the following replacing Servername with the name of the server you just upgraded.
.\StopDagServerMaintenance.ps1 Servername
Running the above script will unblock the databases from being moved back in the upgraded server (This will not move the Active DBs back).
Now logon to the next Mailbox Server where you will be running the next upgrade. Open the Exchange Management Shell as Administrator and navigate to the scripts directory under the Exchange Server directory. Run the following script from the scripts directory by typing the following replacing servername with the name of the mailbox server you will be performing maintenance on.
.\StartDagServerMaintenance.ps1 Servername
Running the above script will move all active databases to the other DAG member and block them from being moved back to the server you are performing the upgrade on. Now that Active Mailboxes have been moved back to the other Mailbox Server (since we have 2 DAG members and we already upgraded the other one) now would be a good time to test the mailbox server we already upgraded to make sure everything is working ok before upgrading the next one.
To verify that the Active Databases have been moved to the other DAG member you can issue the following command in the Exchange Management Shell.
Get-MailboxServer | Get-MailboxDatabaseCopyStatus –Active
Now, run the upgrade on the next Mailbox Server following the steps same steps we used for the first in the “Upgrading the Mailbox Servers” section of this article. When completed with the second server you will again need to enable that DAG member for use by running the following script from the scripts directory same as we did when we were finished upgrading the first Mailbox Server. Open the Exchange Management Shell as Administrator and navigate to the scripts directory under the Exchange Server directory and type the following replacing Servername with the name of the server you just upgraded.
.\StopDagServerMaintenance.ps1 Servername
Remember, running the above script will unblock the databases from being moved back in the upgraded server (This will not move the Active DBs back).
Moving all Active DBs back to their Preferred Mailbox Server
Now that I am all finished upgrading all of my Mailbox Servers, I want to be sure to move all Active Databases back to their preferred server. To do so, open the Exchange Management Shell as Administrator and navigate to the scripts directory under the Exchange Server directory and run the following script replacing YourDagName with the name of your Database Availability Group :
.\RedistributeActiveDatabases.ps1 -DagName YourDagName -BalanceDbsByActivationPreference –ShowFinalDatabaseDistribution -Confirm:$false
Now that all Active Databases are back on their preferred servers, run your normal tests to see that everything is working ok.
Quick Summary about what we have done in the steps to move the Active Databases around using the scripts in this article
I just wanted to take a second to quickly summarize what was done to move the Active Databases back and forth earlier.
First we ran the StartDagServerMaintenance.ps1 script on the first server to be upgraded to move the Active Databases off while we were performing the upgrade. This also prevents the active databases from moving back to the server being upgraded.
Second, we then ran the StopDagServerMaintenance.ps1 script on the first Mailbox Server after the upgrade was complete which enables it to hold the Active Databases again.
Third, we ran StartDagServerMaintenance.ps1 on the second Mailbox Server to be upgraded to move the Active Databases off of this server and over to the other server that was upgraded previously.
Finally, when the second Mailbox Server upgrade was complete, we ran the RedistributeActiveDatabases.ps1 script with the –BalanceDbsByActivationPreference parameter to put all the Active Databases back to their preferred servers.
In this scenario we had 2 DAG members. Even if there had been more, running these scripts would also ensure that you were never running an upgrade on a Mailbox Server with Active Databases, the Active Databases would never move back to a DAG member while it was being upgraded, and all the databases would end up on their preferred server when you where complete.
I hope this helps. Remember, always test these types of upgrades in a lab scenario first. Also make sure that any 3rd party products that rely on Exchange are compatible with the new service pack. For more information about Exchange Service Pack 3 you can visit Microsoft’s website. If you have any questions or feedback, please leave a comment.
Excellent blog with valuable information on step by step method to upgrade the exchange server service packs.
Thank you very much
Regards,
Mohamed Sharif
I have 2 CAS/HUB servers in a CAS array behind a Netscaler load balancer. Both servers are running 2010 SP2 Rollup 8. I plan to upgrade both servers back to back to SP3 and whatever the latest rollup is the same night, is it absolutely necessary to remove each CAS server from the array before upgrading?
Thank you,
Omar
Hi Omar,
I’m not familiar with your load balancer. If it is smart load balancer, configured correctly and tested you should be ok but its always a good idea to remove it during maintenance to be on the safe side.