
Hi All,
There may be times when you want to want to add or remove a software update to or from an existing software update group. You may want to remove an update that is expired or add an update that was recently released. In the examples below, I will be removing and adding an update to a software update group named “Windows 7 Updates”.
To remove an update from a software update group follow the steps below:
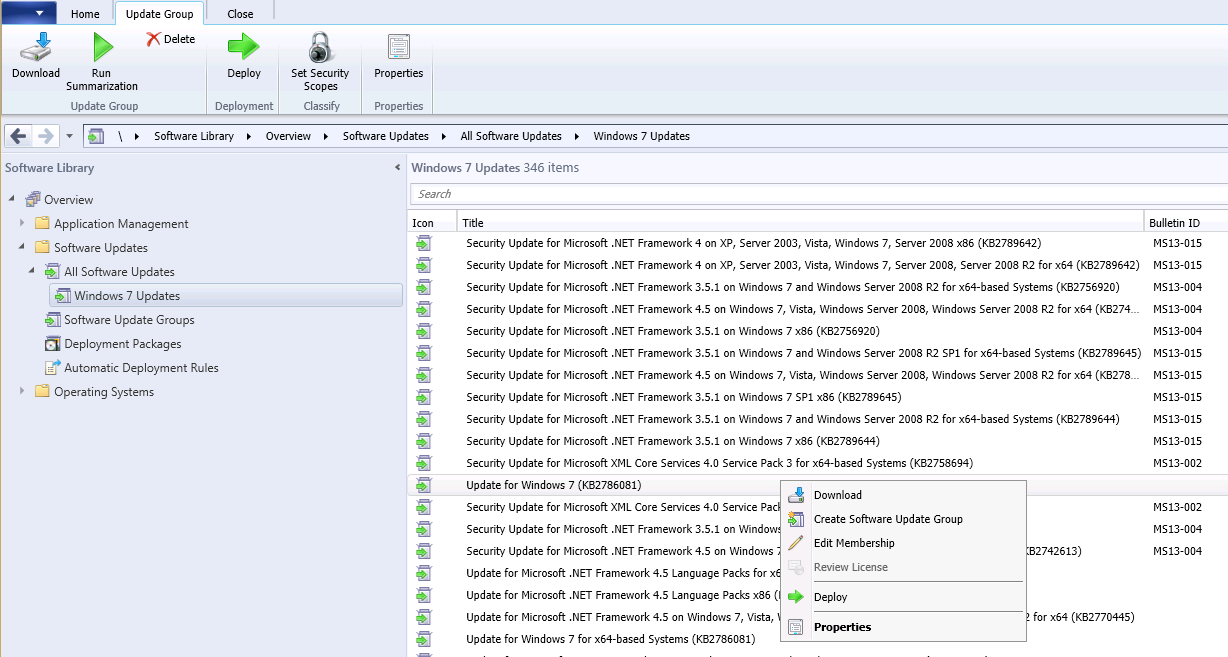
Open the SCCM 2012 Console and navigate to the software update group for which you would like to remove the software update. In this example, the software update group is named “Windows 7 Updates”. The location in the console would be Software Library\Overview\Software Updates\All Software Updates\Windows 7 Updates.
Highlight then right click the updates you would like to remove and choose “Edit Membership” as shown below.
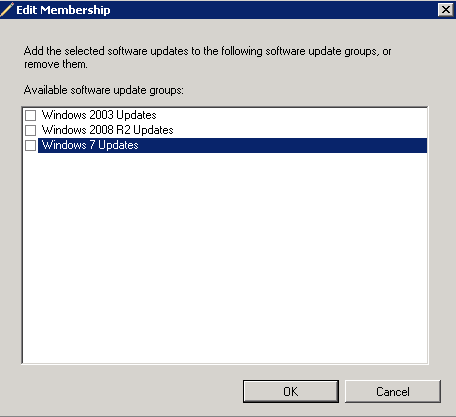
When the “Edit Membership” window appears, you can simply uncheck the box as shown below and click “OK” to remove the update. The update has now been removed from the software update group.
To add an update to a software update group follow these steps:
Now, to add an update to a software update group, navigate to “Software Library\Overview\Software Updates\All Software Updates” in the SCCM Console.
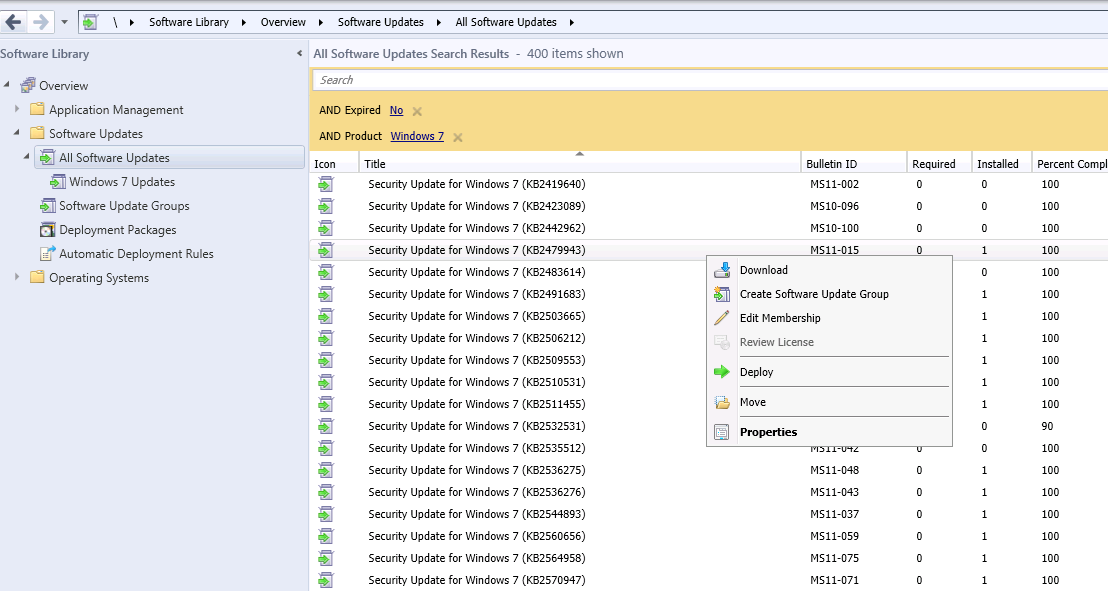
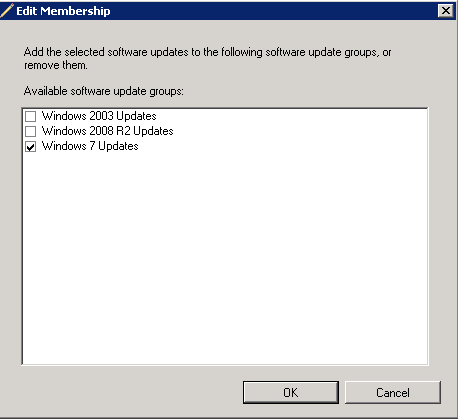
Highlight then right click the updates you would like to add and choose “Edit Membership”. When the “Edit Membership” window appears, simply check the software update group for which you would like to add the update and click “OK”. The update has now been added.
Hope this helps. If you have any questions or feedback, please leave a comment.
Related Links:
How to Force a Machine or User Policy Download Remotely Using the SCCM 2012 Console