
Hi All,
I recently upgraded my Systems Center Configuration Manager 2012 environment from SCCM 2012 SP1 to SCCM 2012 R2. After upgrading the servers, I tested upgrading a pilot group clients by using client push to make sure everything was ok before upgrading all clients. After verifying everything was working as expected, I enabled the “Automatic Client Upgrade” feature following the steps below.
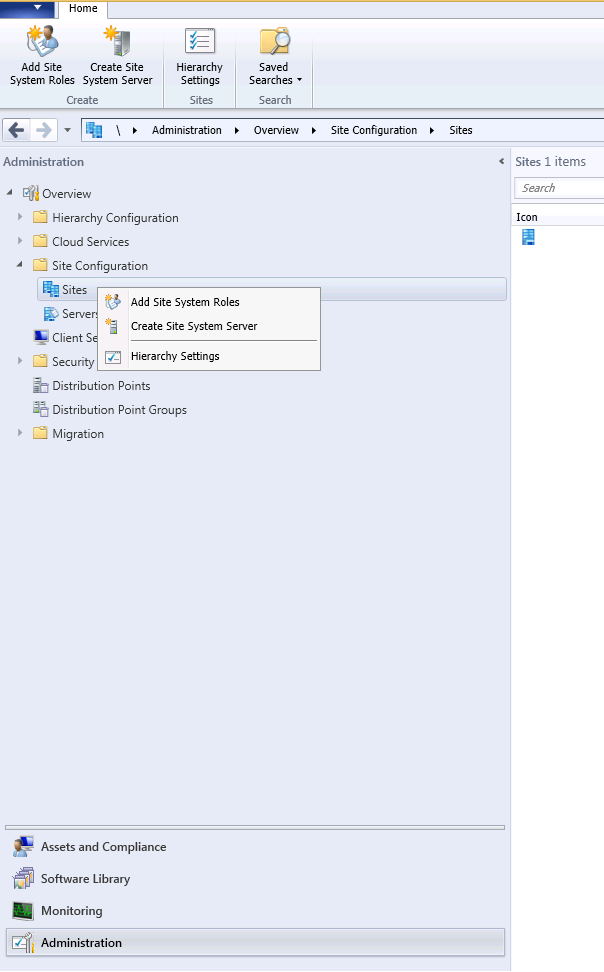
First open the “System Center Configuration Manager Console” and Navigate to “Overview\Site Configuration\Sites” under “Administration”. Right click “Sites” and choose “Hierarchy Settings” as shown below.
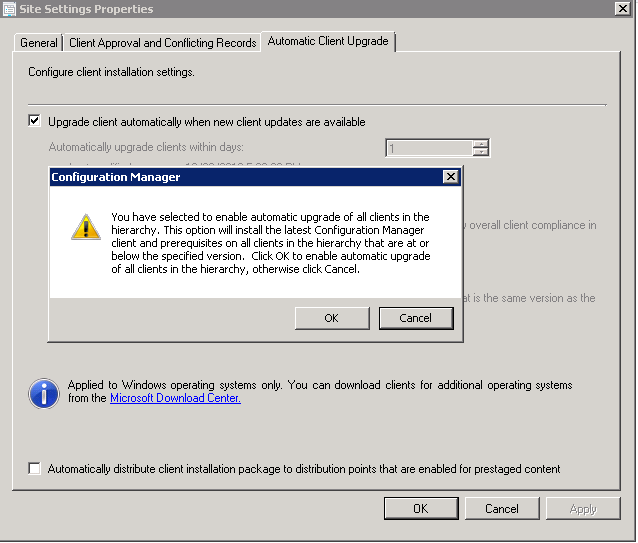
When the “Site Setting Properties” windows appears, choose the “Automatic Client Upgrade” tab. Now check “Upgrade client automatically when new client updates are available”. You will be prompted with a warning explain that this option will install the latest client and prerequisites on all clients that are at or below the specified version as shown below. Click “OK” for this warning.
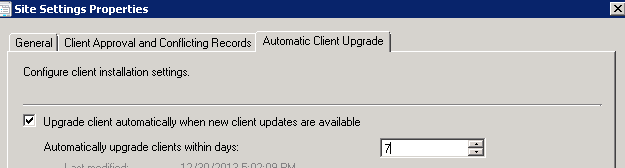
Next, choose the amount of days for when clients will execute the task to run the upgrades by setting a number for “Automatically Upgrade clients with days” as shown below. In this example we are choosing 7 days. This way, each client will pick a date between 1 and 7 days to execute the task. This will stagger the upgrades over 7 days. When finished click “Apply” and “OK”.
You are finished enabling the “Automatic Client Upgrade” feature in SCCM 2012.
I hope this helps. For more information about this feature such as using it to keep Microsoft System Center Endpoint Protection Client versions up to date or best practices to follow that suit the needs of your specific environment when enabling Automatic Client Upgrade, visit Microsoft’s website. If you have any questions or feedback, please leave a comment.