
Hi All,
In this article I will be demonstrating how to promote a Windows 2012 Server to a Domain Controller when it is the first Domain Controller in a Domain in a new forest. This article assumes that you have already installed Widows Server 2012, assigned an IP address and named the server as appropriate.
For those of you who are used to using “Dcpromo” to promote a Domain Controller in previous versions of Windows should note that this command has been removed. You will quickly find this out if you try and open a command prompt and run Dcpromo as shown below.
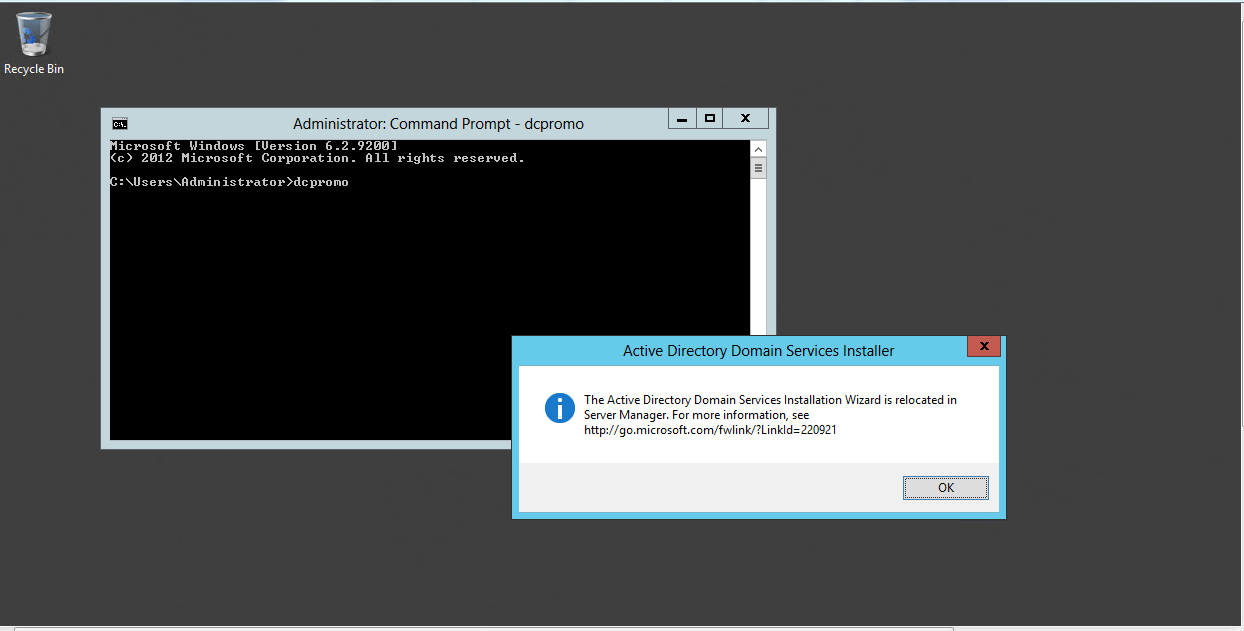
The way to promote a server to a Domain Controller in Windows 2012 is to use Server Manager or PowerShell. This blog will cover using the Server Manager method.
Installing the ADDS Binaries
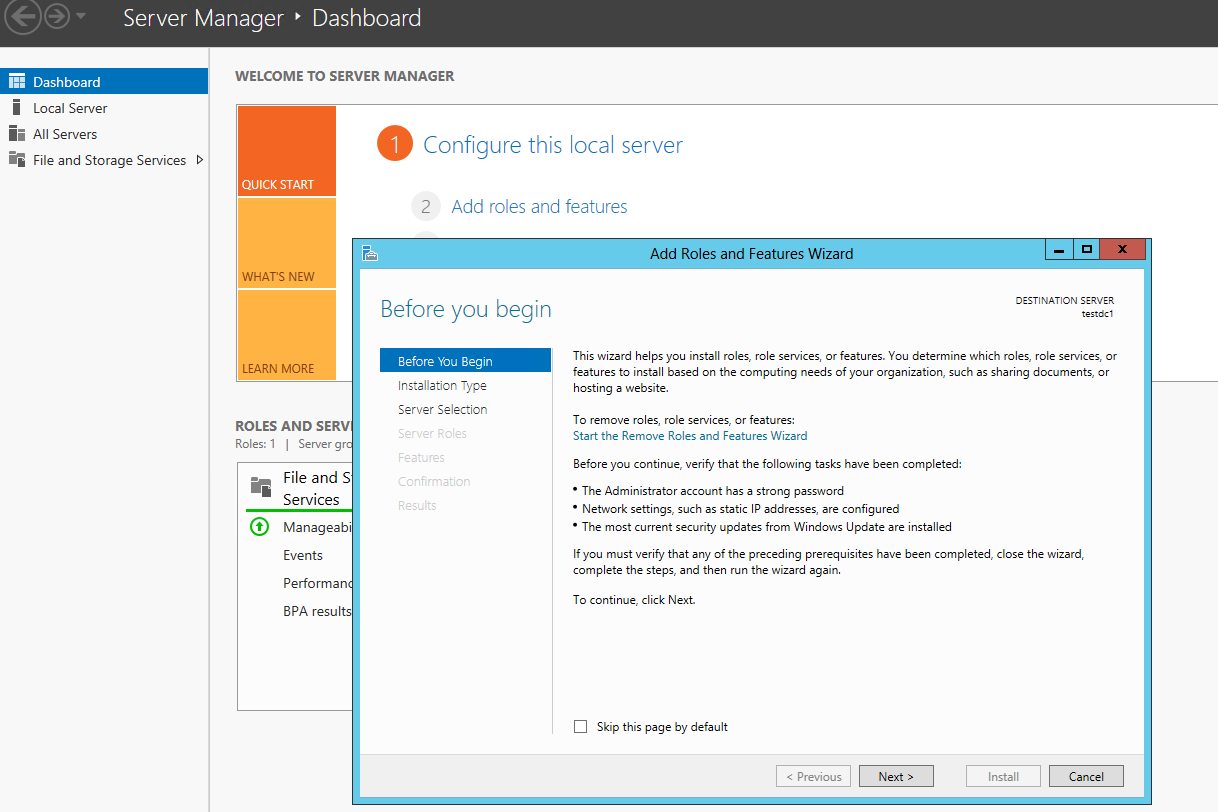
Since this is the first Domain Controller in the Domain and Forest, log on to the server with the local administrator account. If not already open, open Server Manager and click “Add roles and features” to start the “Add Role and Features Wizard” as shown below. Review the items under the “Before you continue” section and if all is satisfied, click “Next”.
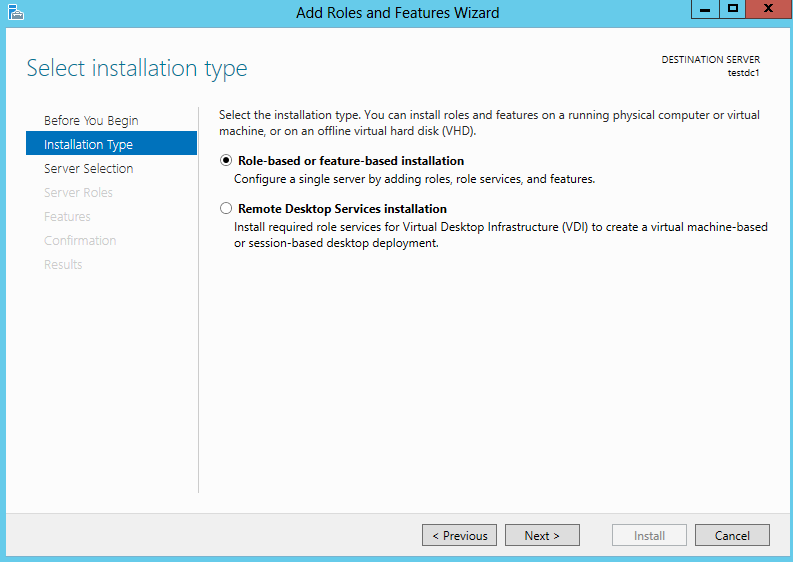
On the “Installation Type” screen choose “Role-based or feature-based installation” and click “Next”.
On the “Server Selection” screen, choose “Select a server from the server pool” and highlight the server where the binaries will be installed. In this example it’s the local server named “TESTDC1”. Click “Next”.

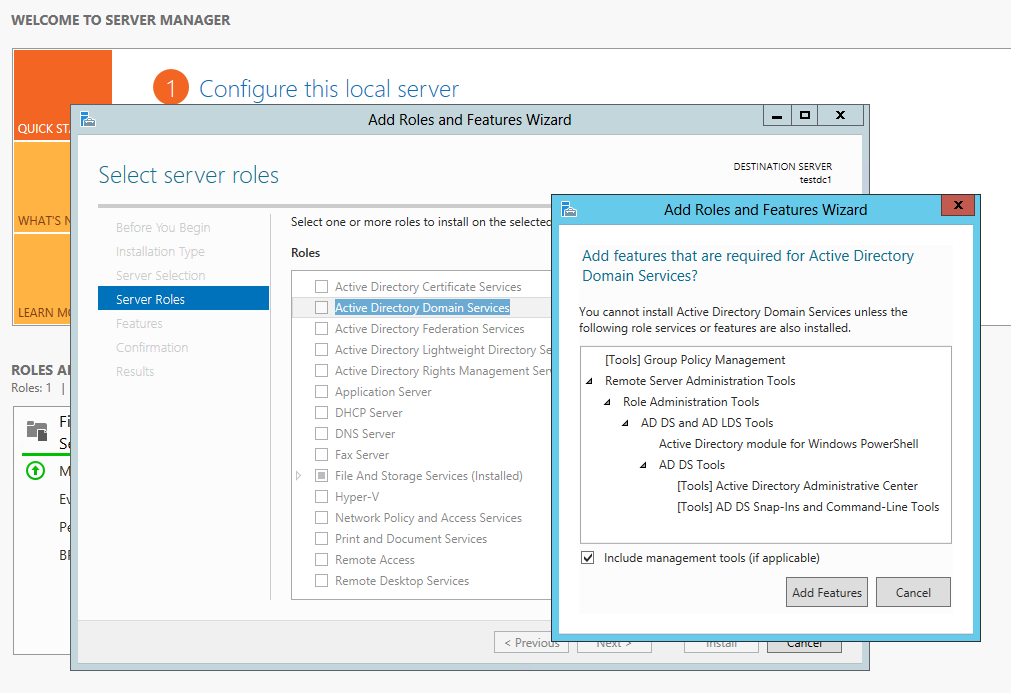
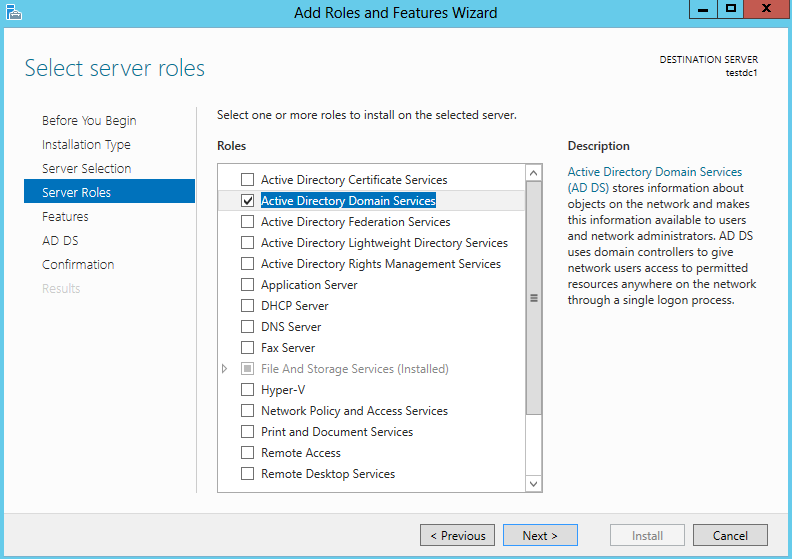
On the “Server Roles” screen, check the box for “Active Directory Domain Services” and you will be immediately prompted to add features required for Active Directory Domain Services as shown below. Click the “Add Features” button.
After you click the “Add Features” button the “Active Directory Domain Services” box will be checked as shown below. Click “Next”.
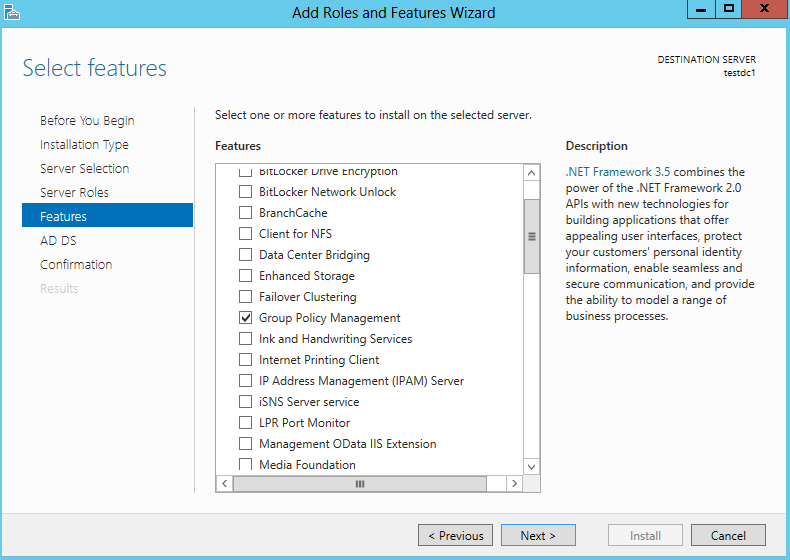
On the “Features” screen you will notice that the “Group Policy Management” and “Remote Server Administration Tools” are already selected to be installed as shown below (You will have to scroll down to see “Remote Server Administration Tools”). Click “Next”.
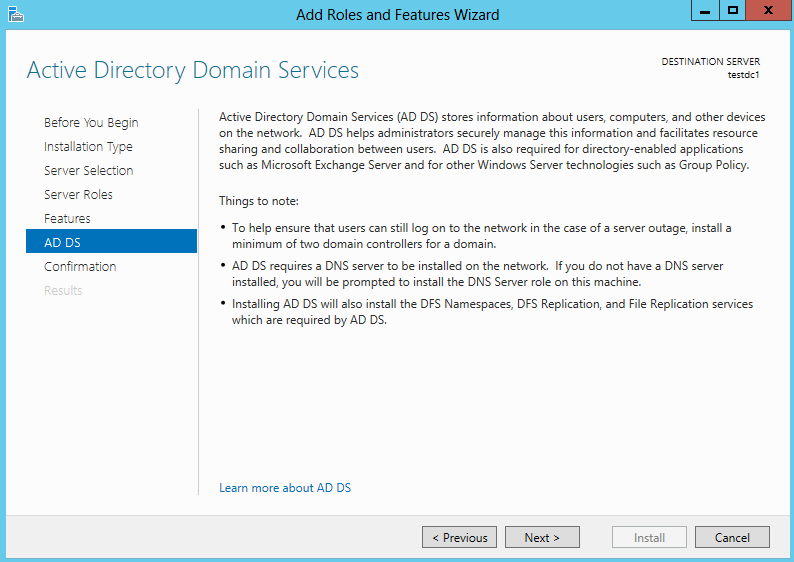
On the “ADDS” screen, there will be a brief description of Active Directory Domain Services as well as some important things to note. Review the screen and click “Next”.
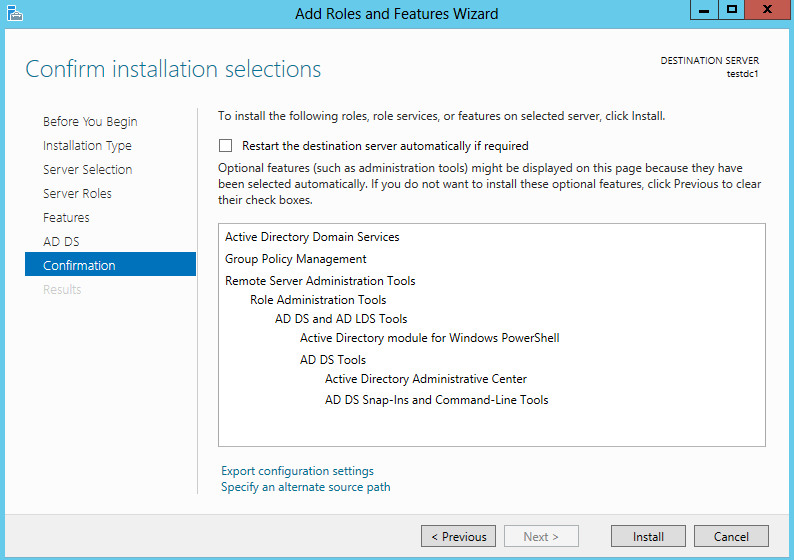
On the “Confirmation” screen, you will be able to review everything you chose to install. You also have the option to restart the server if required. For this example I will leave the Restart option unchecked which is the default setting. Click “Install”.
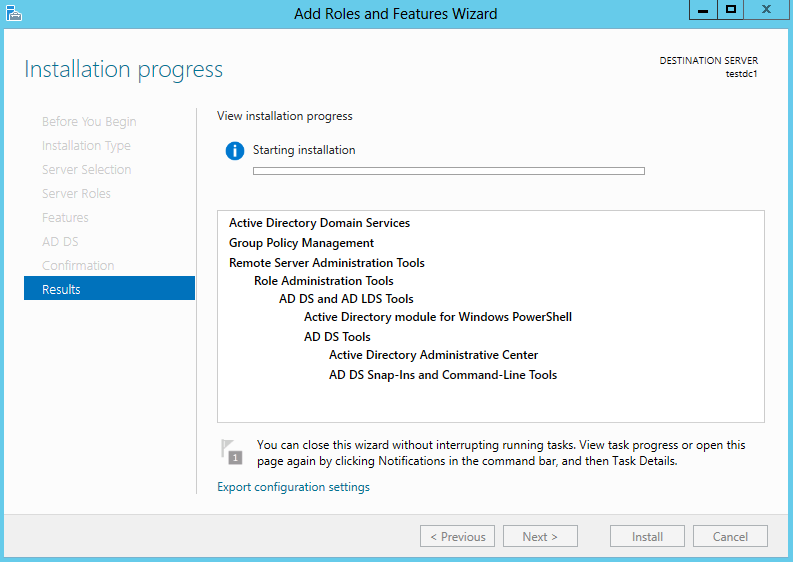
This install will begin as shown below.
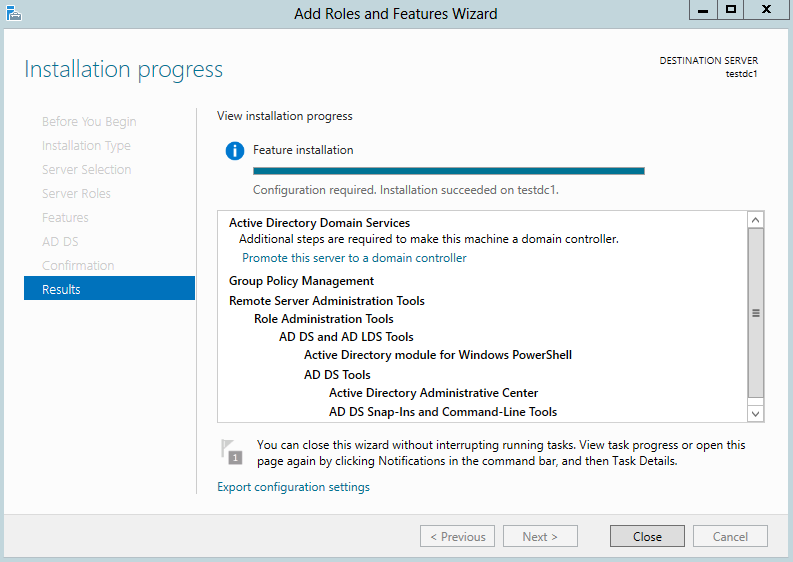
When a successful installation is complete, it will tell you that configuration is required and that installation is successful as shown below. Click “Close”.
Promoting the Windows 2012 Server to a Domain Controller
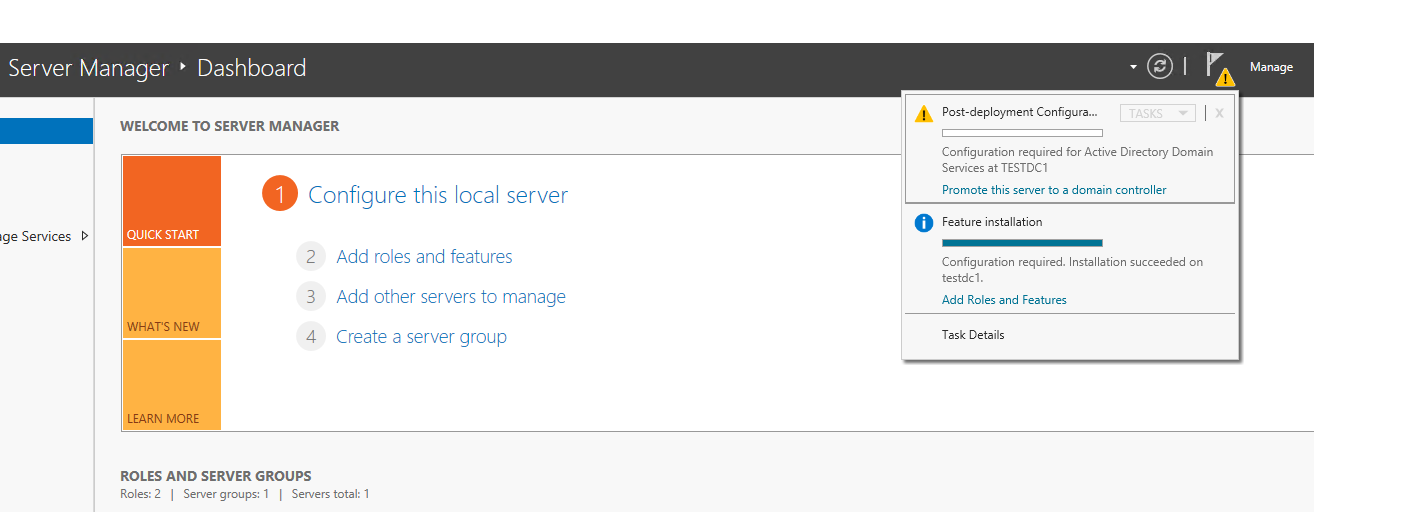
After the ADDS binaries are installed, you can now promote the server to a Domain Controller. Click the triangular yellow “Notifications” icon in the right top corner of Server Manager and you will be presented with the option for “Post-deployment Configuration” Click “Promote this server to a domain controller”.
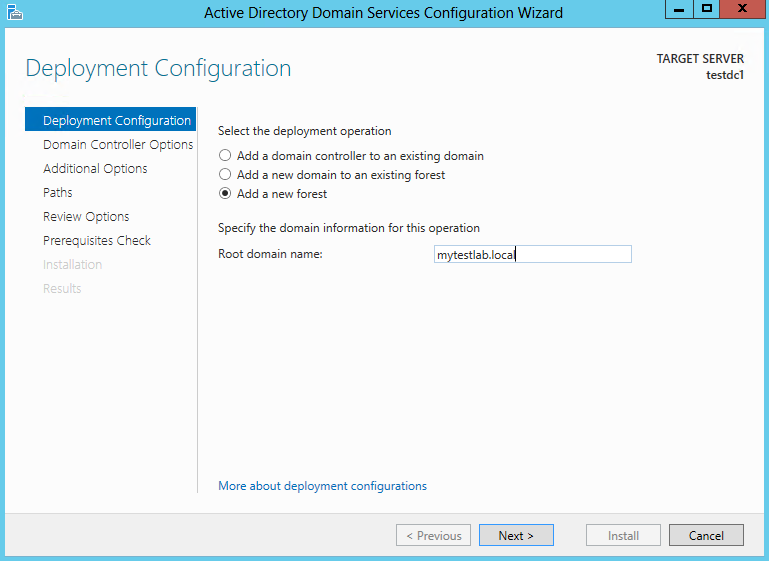
When the “Active Directory Domain Services Configuration Wizard” appears, you have 3 options as shown below. “Add a domain controller to an existing domain”, “Add a new domain to an existing forest” or “Add a new forest”. Since the scope of this blog is to demonstrate promoting the first Domain Controller in a new Forest, we will choose “Add a new forest”. Once you choose this option you will have to fill in the “Root domain name”. We’ve decided to call ours “mytestlab.local”. Click “Next”.
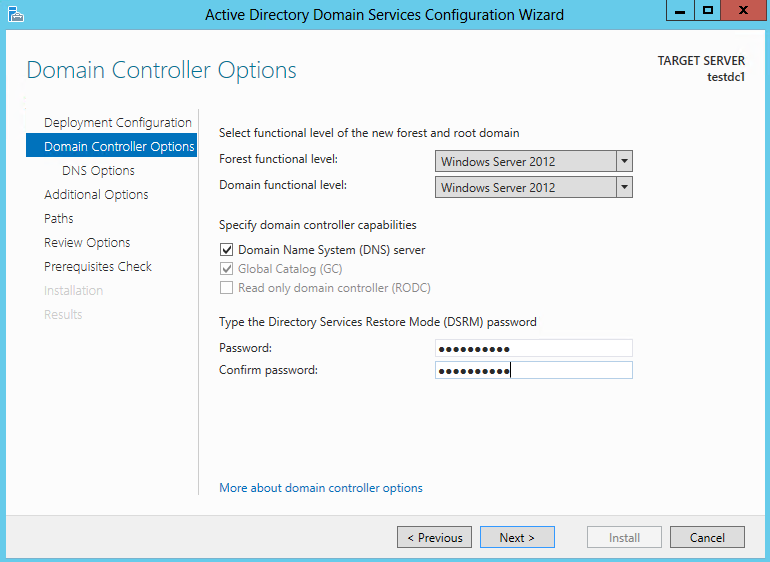
On the “Domain Controller” options screen, you have the option to set the Forest and Domain Functional levels. Since I never intend to introduce any Domain Controllers running less than Windows Server 2012 into my Domain or Forest, I will leave Windows 2012 functional level for both as shown below. I have also checked off that I want this server to host DNS as well since I have no existing DNS servers. The “Global Catalog” option is checked off and greyed out as this Domain Controller will need to be a GC since there are no others. You will also need to provide the “Directory Services Restore Password” on this screen as well. Click “Next”.
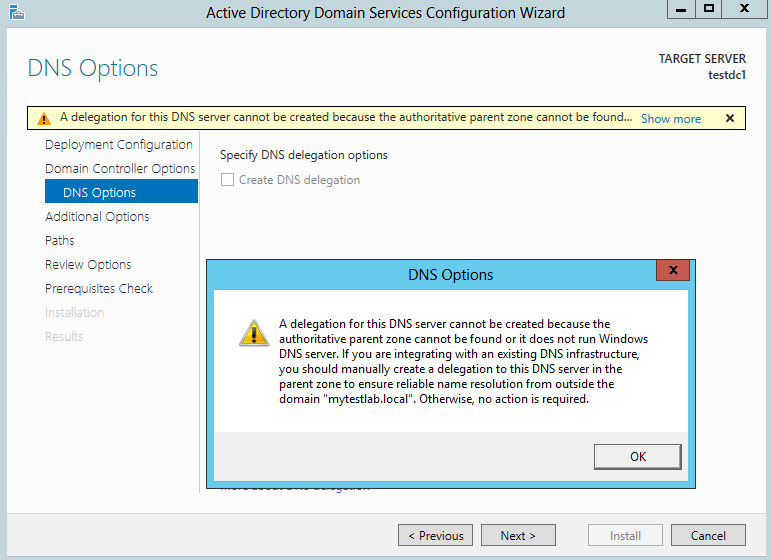
You will now receive the warning “A Delegation for this DNS server cannot be created because an authoritative parent zone cannot be found…” You can click show more to read the warning as shown below. We are not integrating with an existing DNS infrastructure so this can be ignored. Click “Ok” on the pop up and then “Next”.
On the “Advanced options” screen, verify the NetBIOS domain name and Click “Next”.

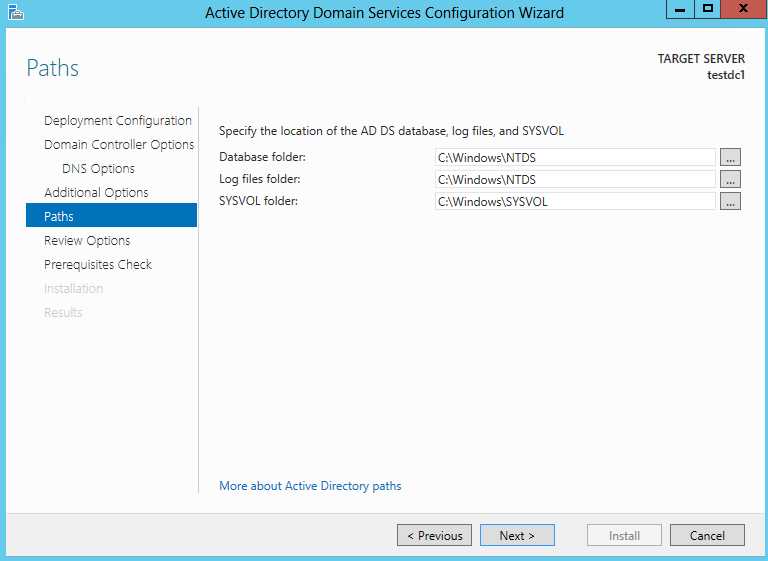
On the “Paths” screen, you can choose to change the install locations for the Database, Logs and Sysvol. We will leave them default. Click “Next”.
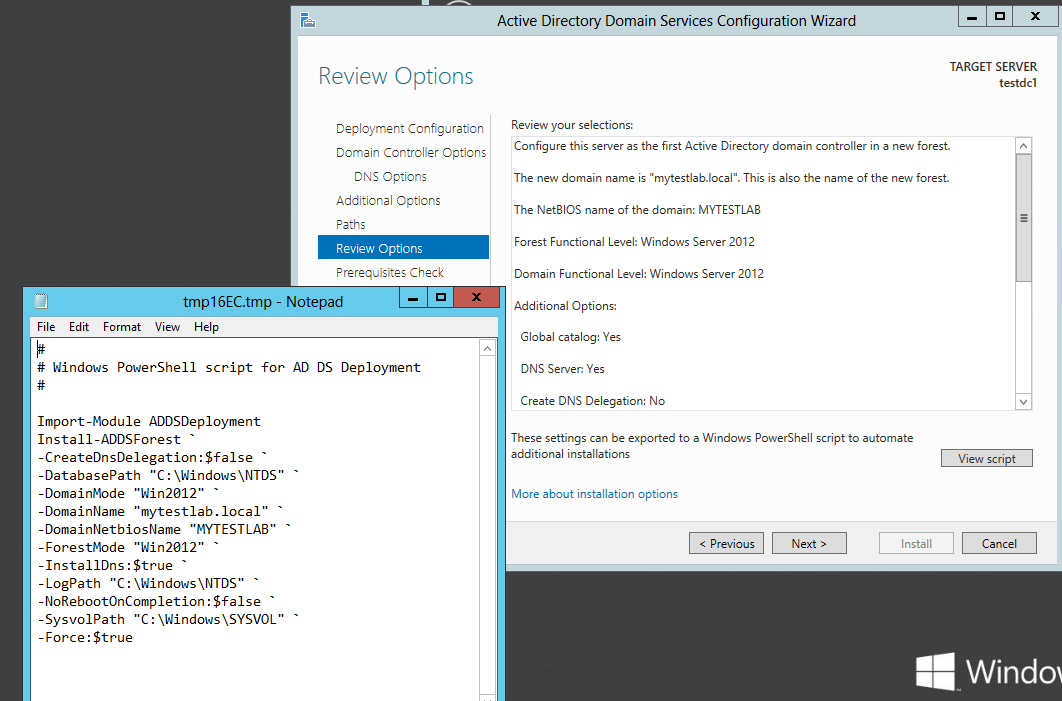
On the Review Options screen, you will have the opportunity to review your configuration options before promotion. You also have the options to export these settings to a PowerShell script for additional Domain Controller installations by clicking the “View Script” button as shown below. When done reviewing, click “Next”.
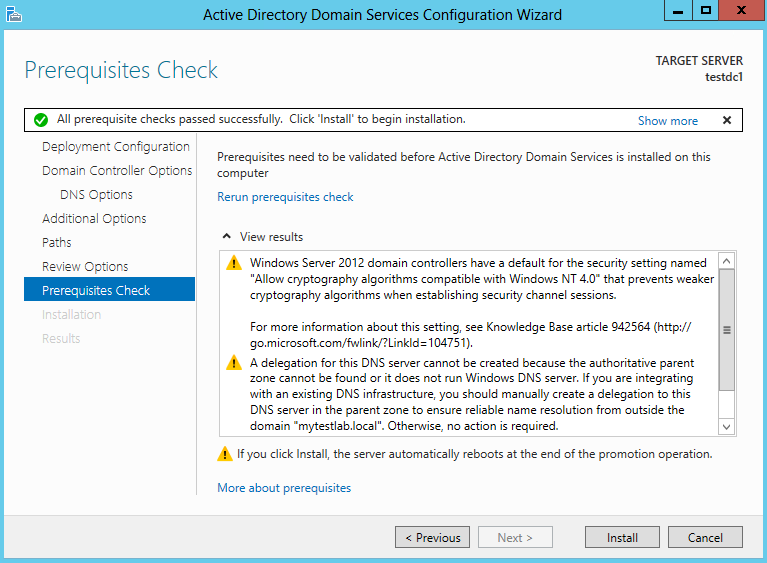
On the “Prerequisites” screen, a check is done to see that the server is ready for promotion. I received a security warning for down level systems and the DNS warning received earlier which in this case, both can be safely ignored. It also warns that the server will be rebooted at the end of the promotion operation. Now that the prerequisites test was successful, click “Install”.
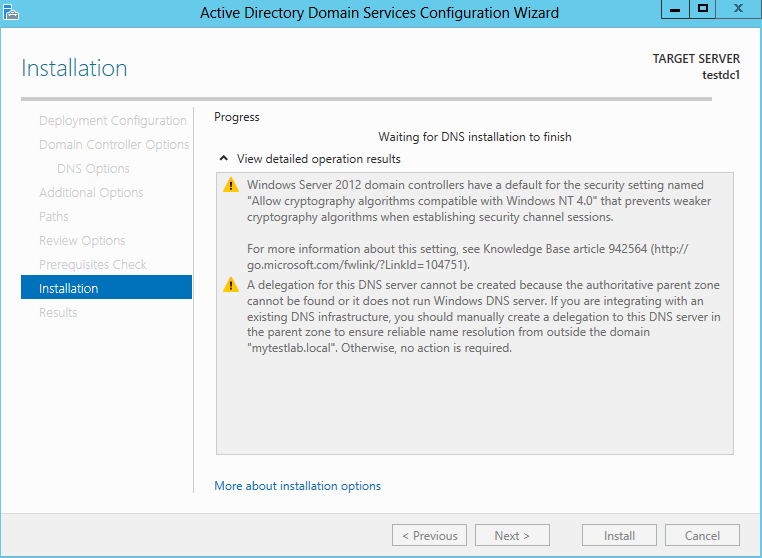
You will see the promotion progress with details of what is going on as shown below.
When completed, the server will reboot. After the reboot you can login as administrator to the domain that was just created using what you had previously used for the local admin password of the server.
At this point your Domain Controller promotion is complete. You can logon and have a look around to verify everything is working ok. You can verify that there are no errors in the event viewer. You can also run some tests such as “dcdiag” to make sure there are no issues.
I hope this helps. As always, if you have any questions or feedback, please leave a comment.