
As part of a recent project to test out Microsoft Azure we placed a Read Only Domain Controller on an Azure VM. The steps and screenshots needed to put the RODC in place are documented below. The process is very similar to putting an RODC on your internal network once the network configurations and the VPN tunnel allowing connectivity back to an Azure vnet have been completed.
After installing Active Directory Domain Services on your system/vm kick off the domain controller install by running dcpromo. Running dcpromo will present the following:
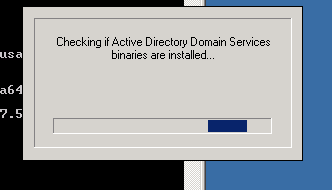
Once verified you will see the AD Install Wizard. For this install we chose to use advanced mode.

The Operating System Compatibility warning will display. If your DC’s are all Windows 2008 and above you can generally ignore this.

The next screen will give you options for the type of deployment. For this article we are adding a domain controller to an existing domain.

Enter the name of the domain that you will be adding the domain controller to. If logged in with the necessary rights to add a DC you will not need to specify alternate credentials.

Highlight the domain you are choosing to add the DC to. In this case it is the forest root domain.

Pick the AD site the DC will reside in. If the subnet and site were pre-configured properly it will automatically select the proper site.

The wizard will run a check against your current DNS setup.

You will now receive the options for what you want to be installed on the DC. For our setup we chose to make it a GC and DNS server. This is where you will also select the RODC option.

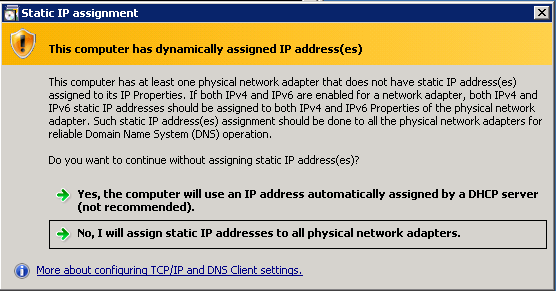
Depending upon how your network is setup you generally wouldn’t see the option below. For all internal Domain Controller installs we’ve built a static IP address was assigned.
As this is an Azure system, the IP’s are set to DHCP and they don’t change as a DHCP address normally would so you’d want to choose Yes, the computer will use an IP address automatically assigned by a DHCP server.
In this screen you will be able to specify which user accounts get their passwords replicated to the RODC and which users do not. This will allow the specified users to authenticate to this DC when a network issue prevents connection back to a writable Windows 2008 DC.

As an RODC can be used for other purposes than strictly a domain controller there may be a need to allow a user in the local office to log onto it (to check backups etc). Adding a group or user in this screen will allow local users to gain administrative privileges to this server without specifically adding them to the domain admins group.

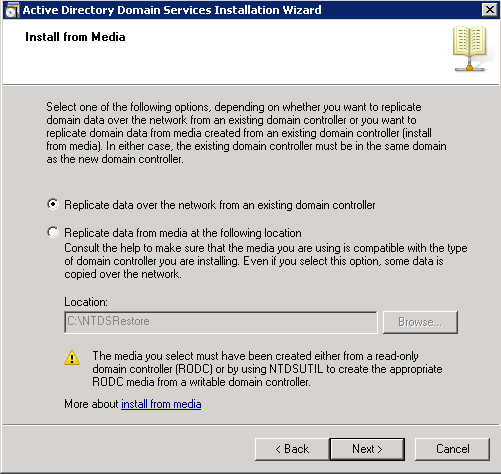
The next screen will provide the option to replicate AD data over from an existing DC or to copy a file over to the DC and replicate the AD information locally. For this article we will replicate from another DC
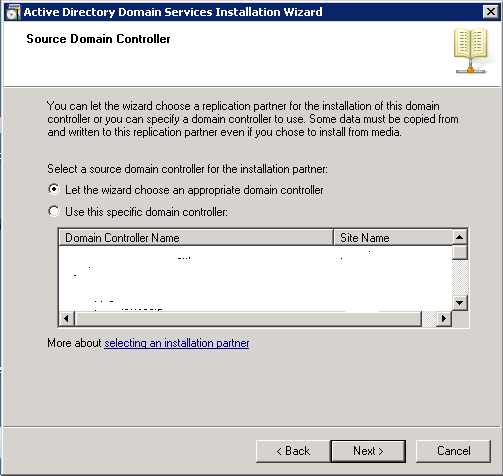
The Source Domain controller screen will allow you to pick a specific DC to replicate from. If the AD sites are all setup correctly it should be able to locate the closest DC and replicate from it. If not highlight the DC of your choice.
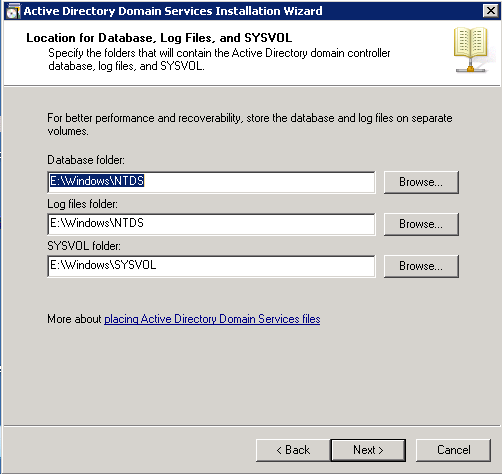
Choose the location for the Database, Log, and Sysvol directories.
The next screen will provide a summary of all options you’ve chosen in prior screens. You can also export the settings you’ve chosen from this screen if you plan to build multiple DC’s with the same configurations.

Clicking next will kick off the final step in the configuration. This may take some time depending on how many object exist in your Active Directory.

Select the “reboot on completion” option or reboot manually and the RODC will be complete.